ART BLOG |
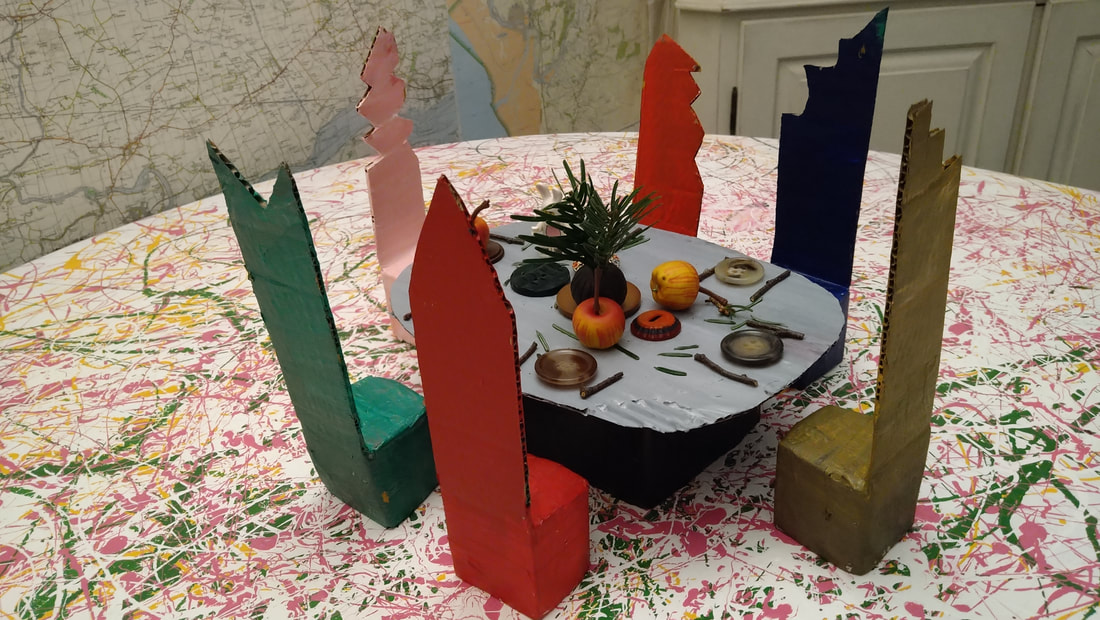
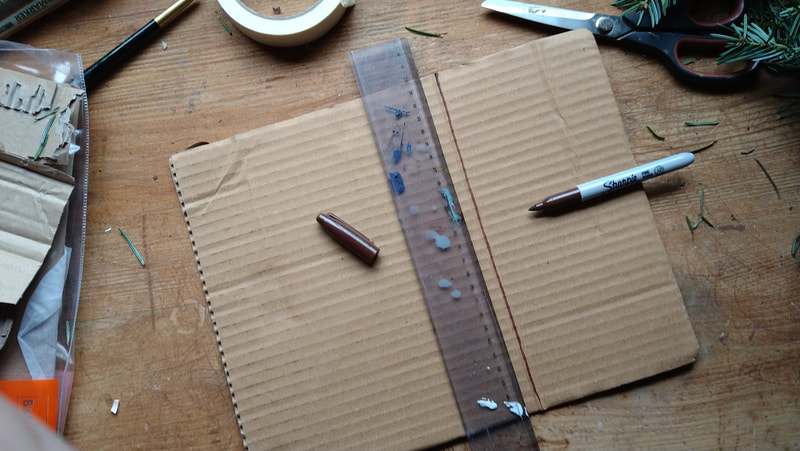
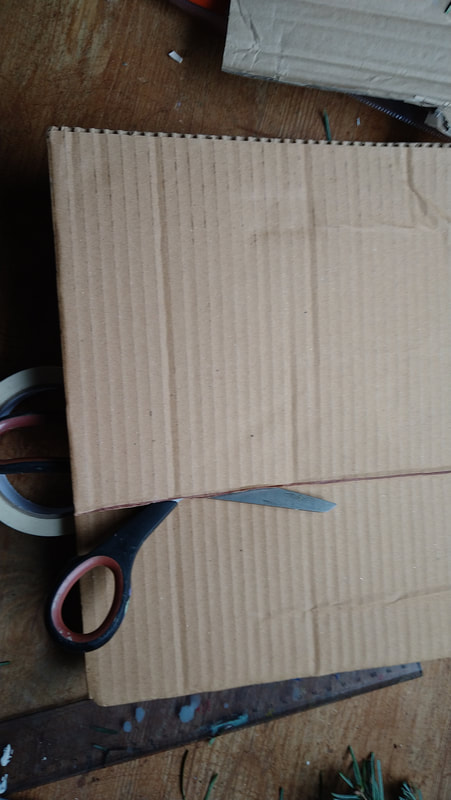
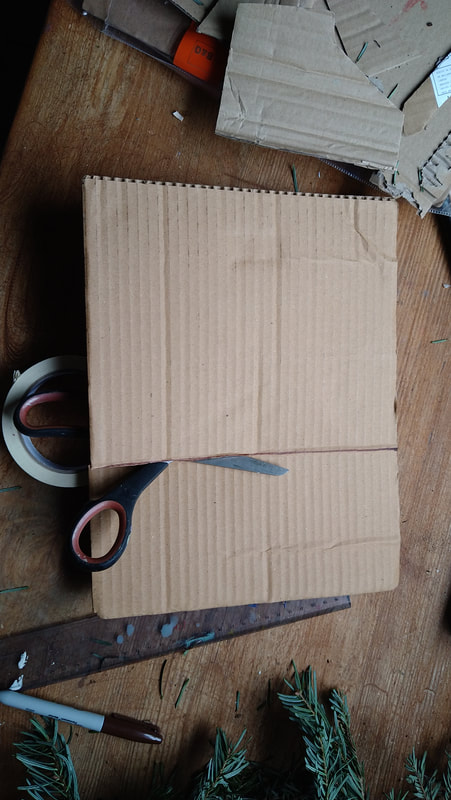
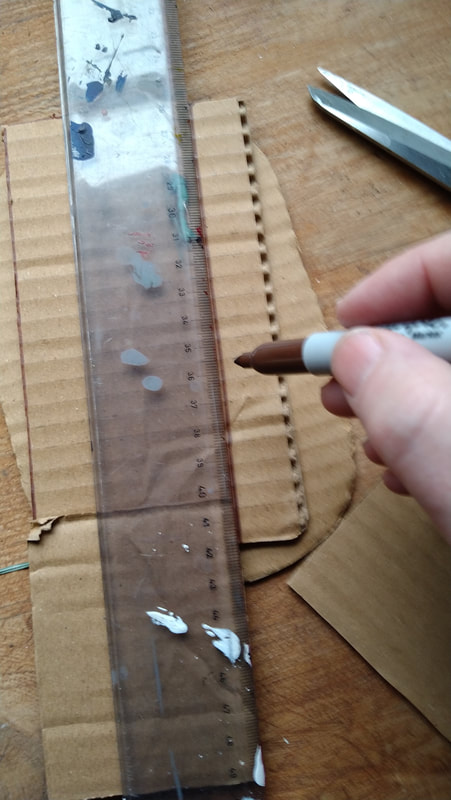
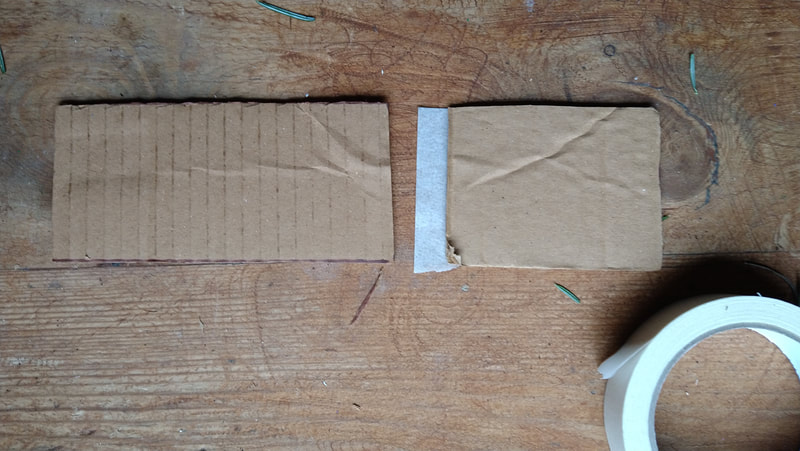
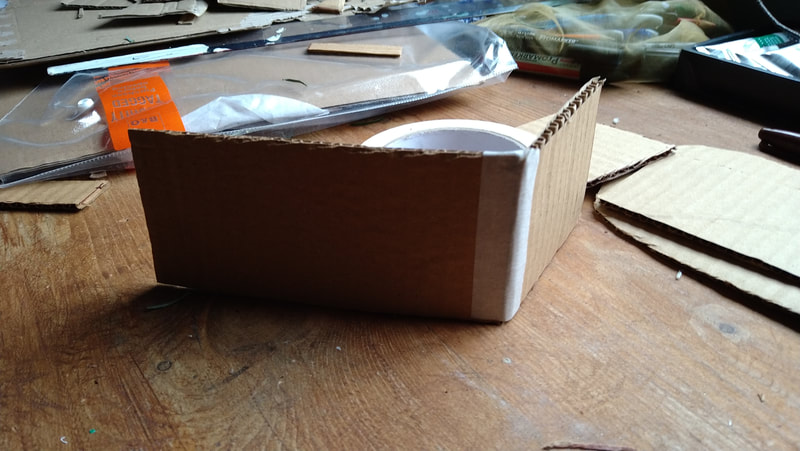
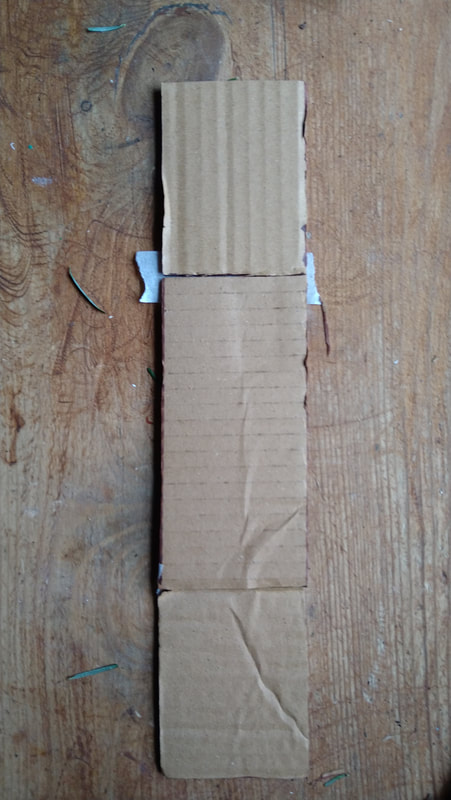
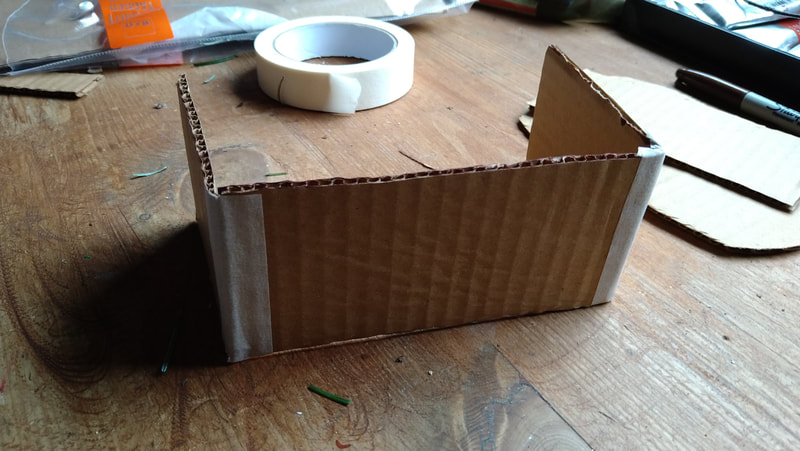
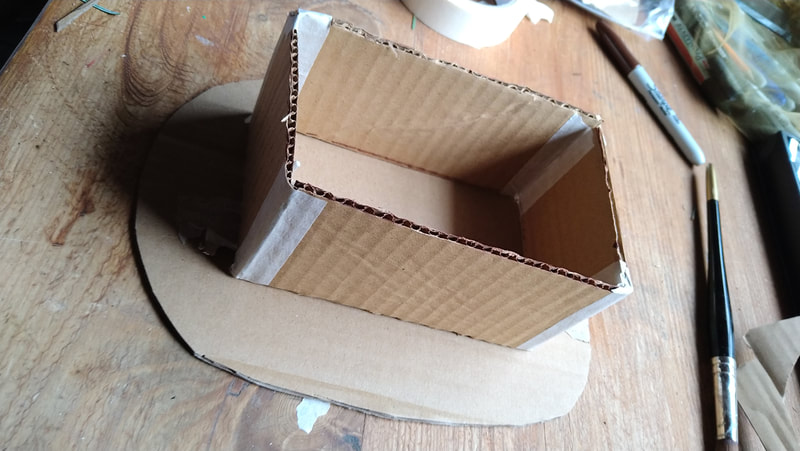
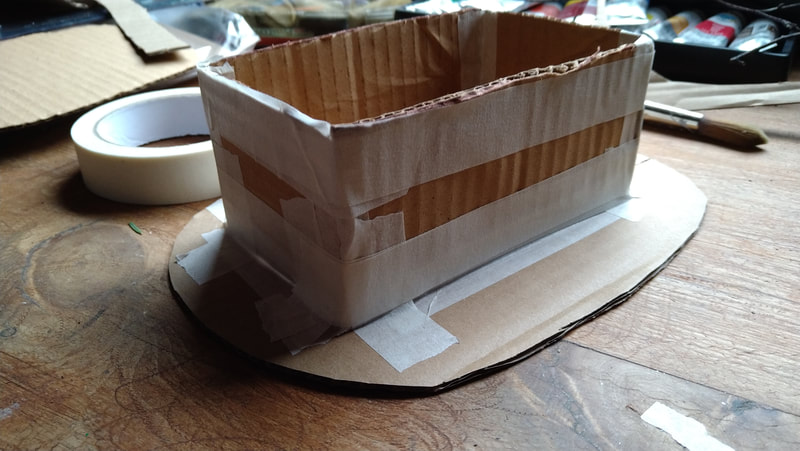
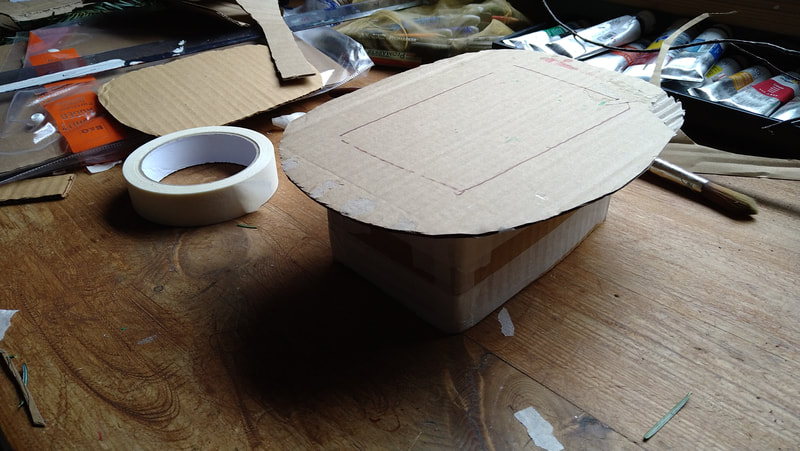
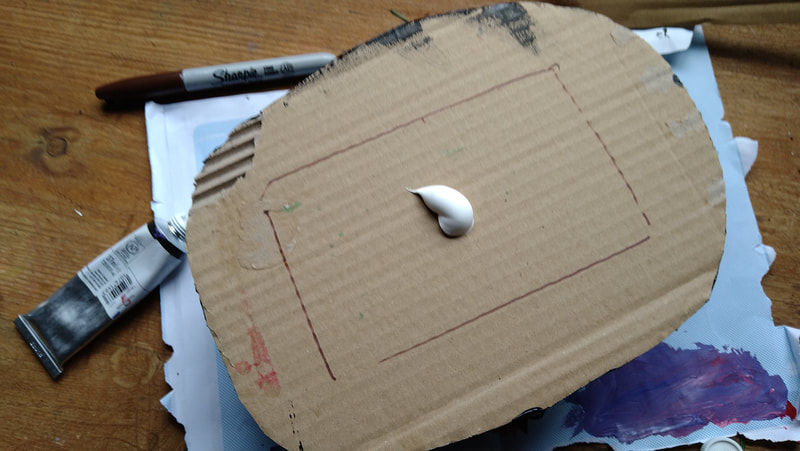
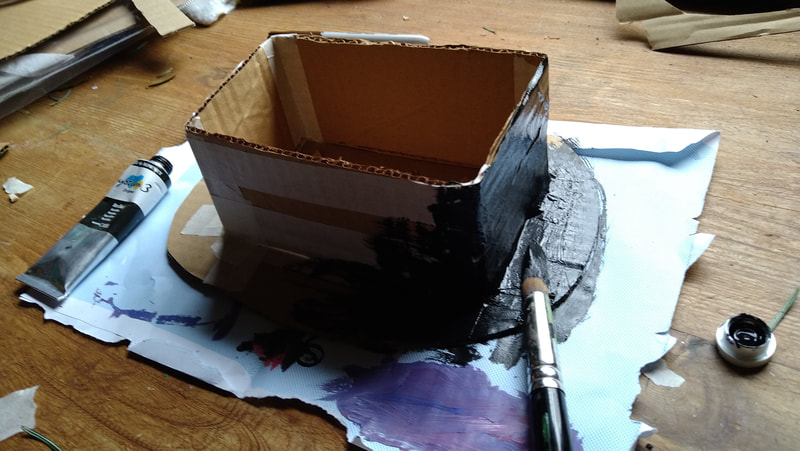
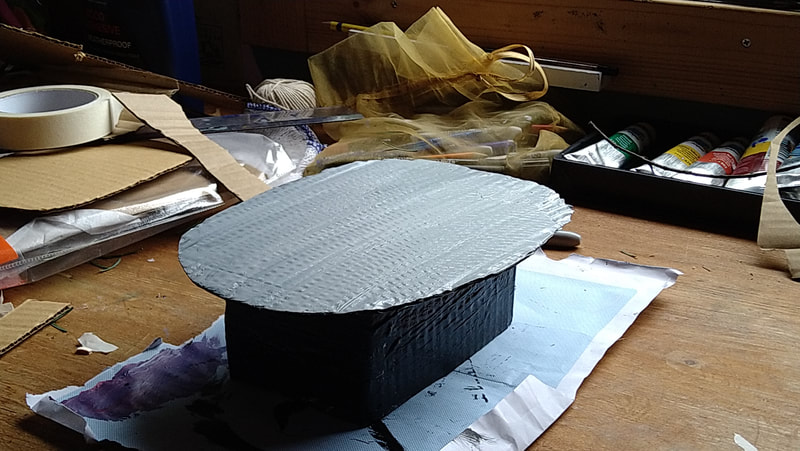
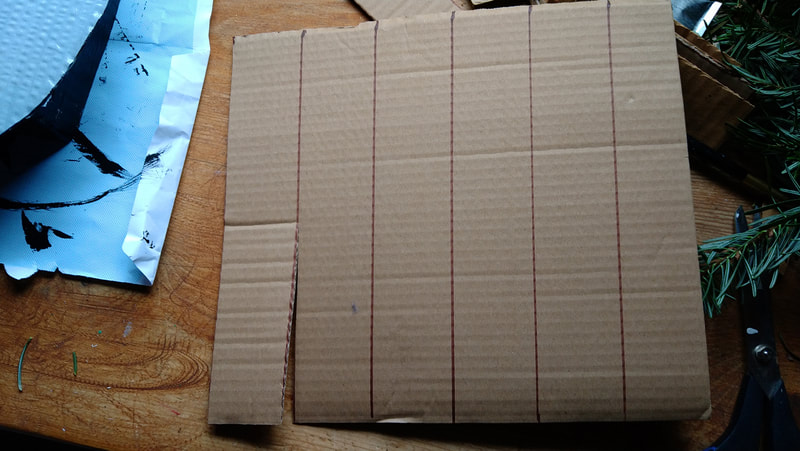
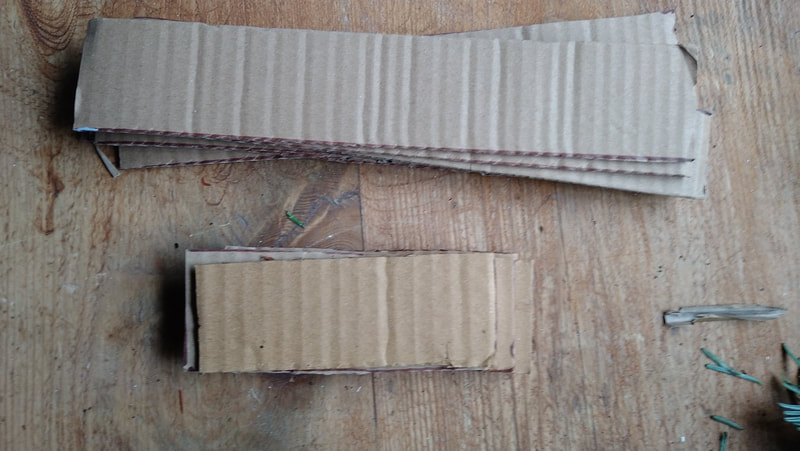
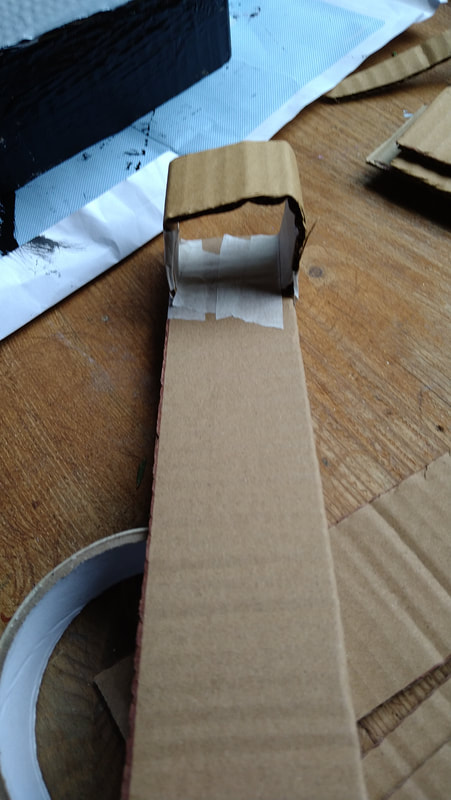
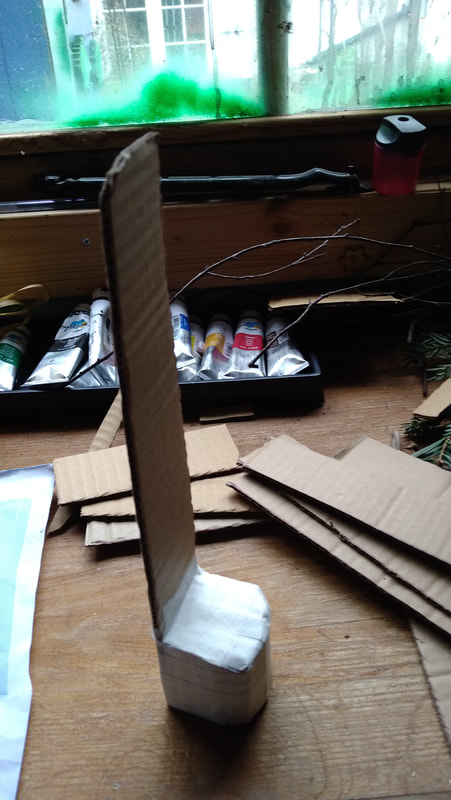
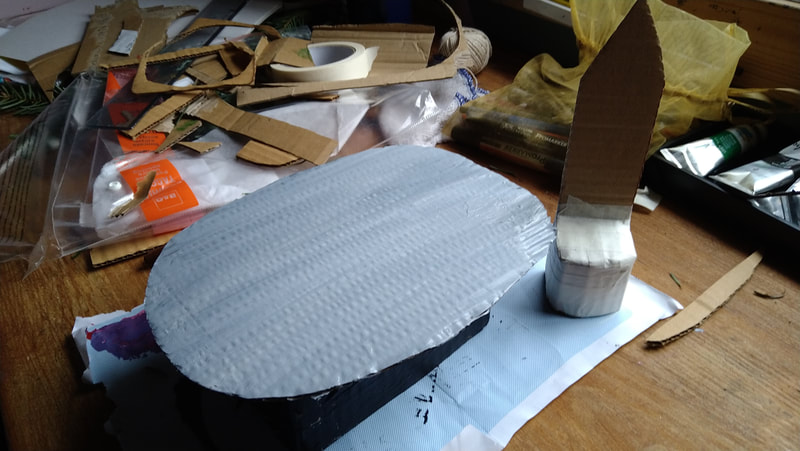
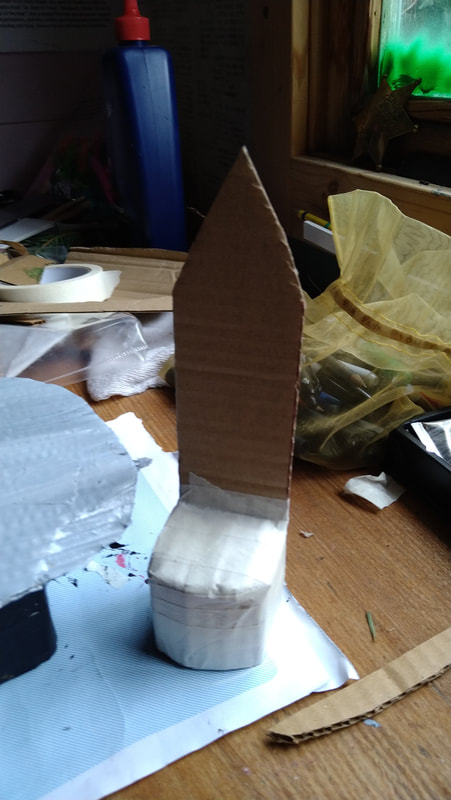
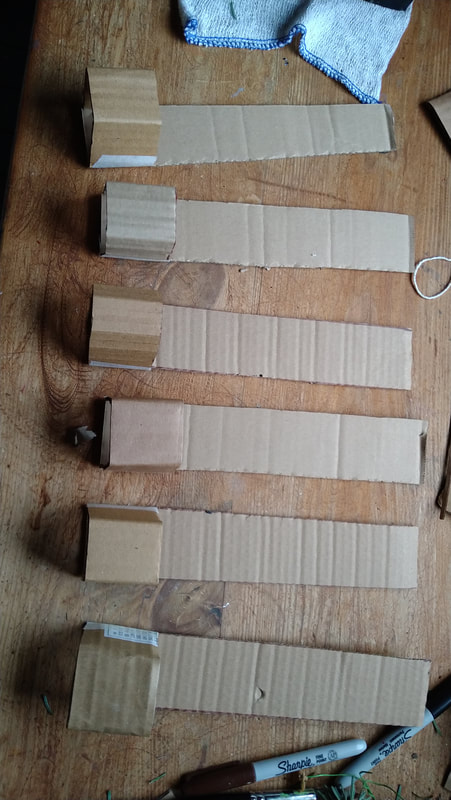
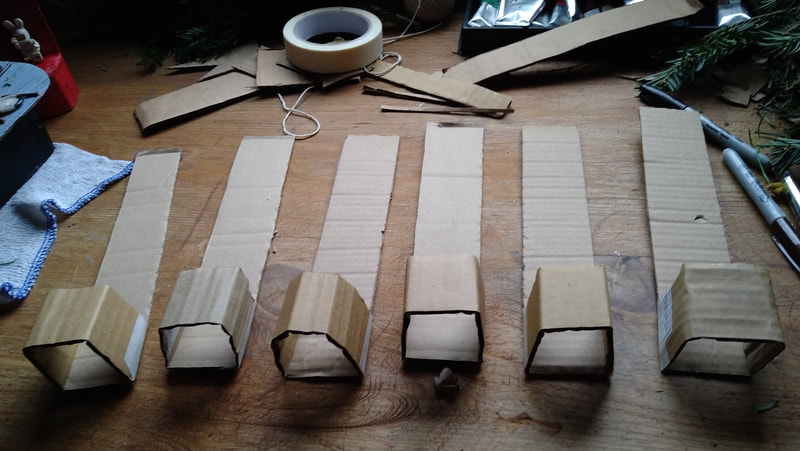
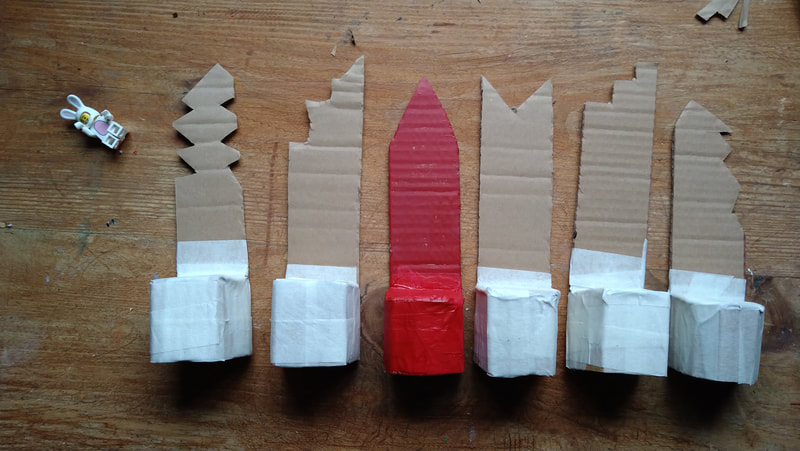
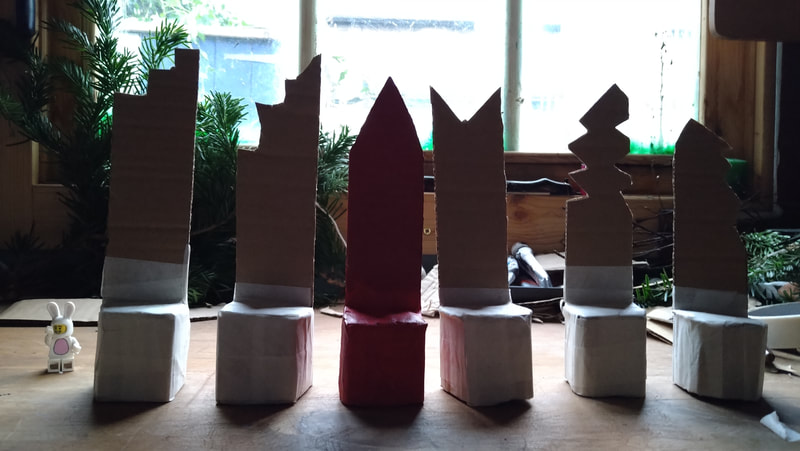
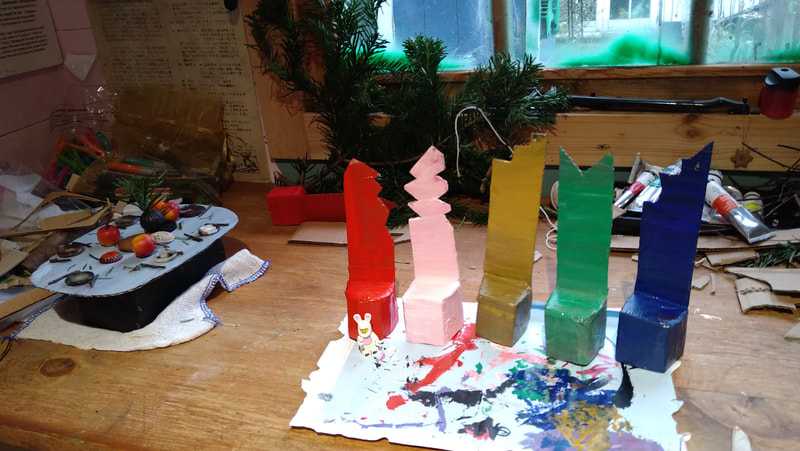
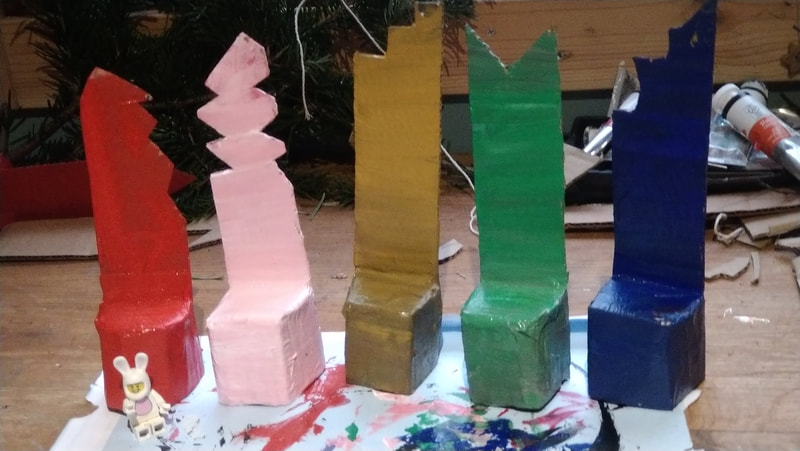
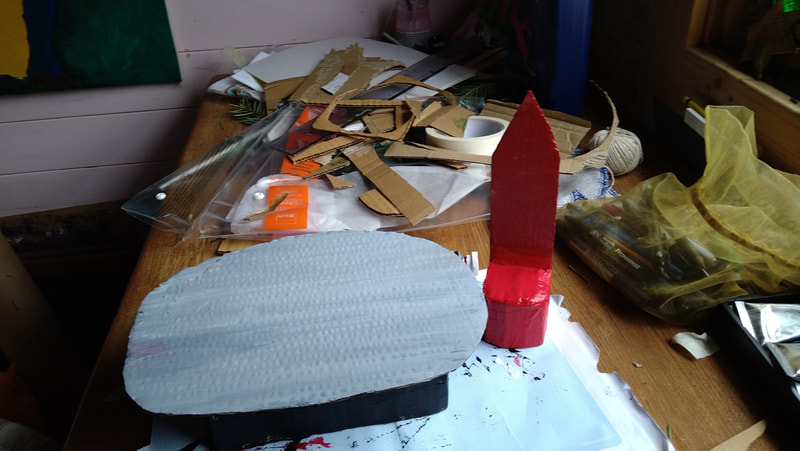
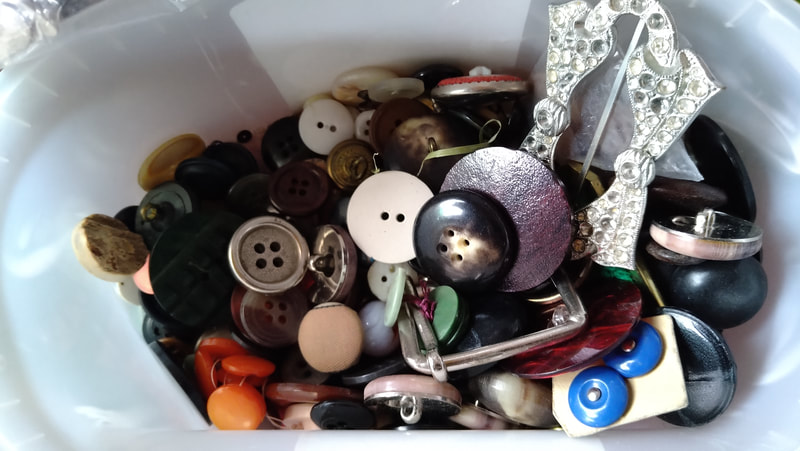
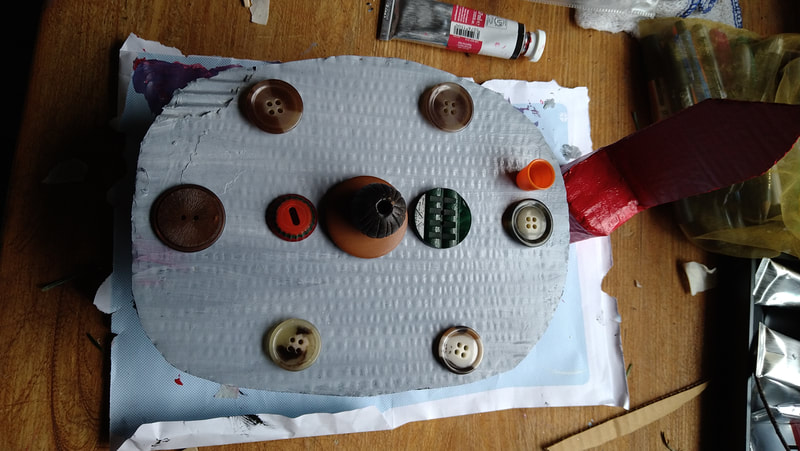
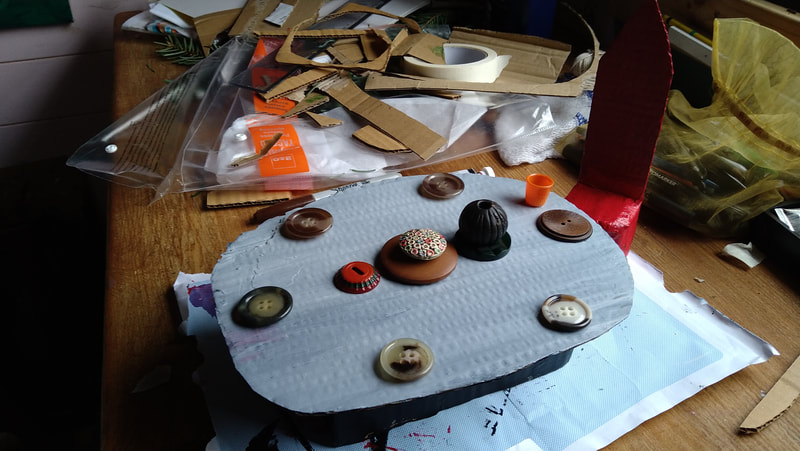
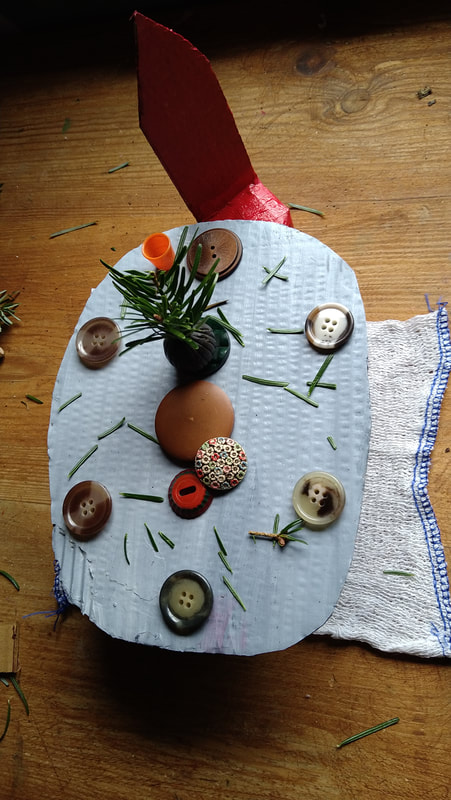
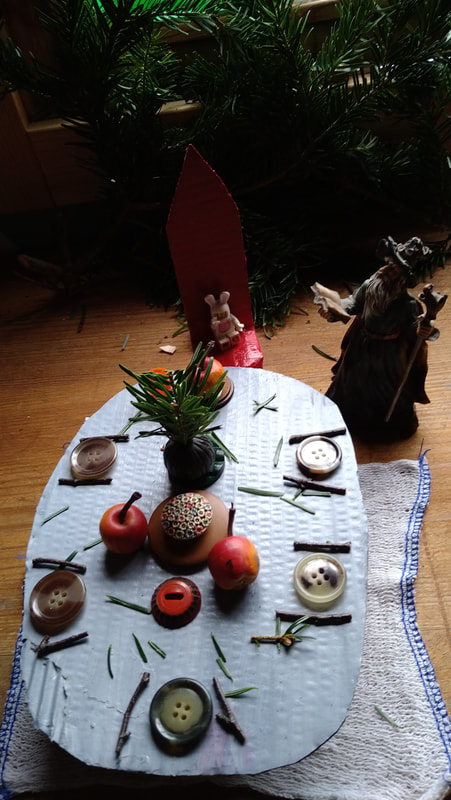
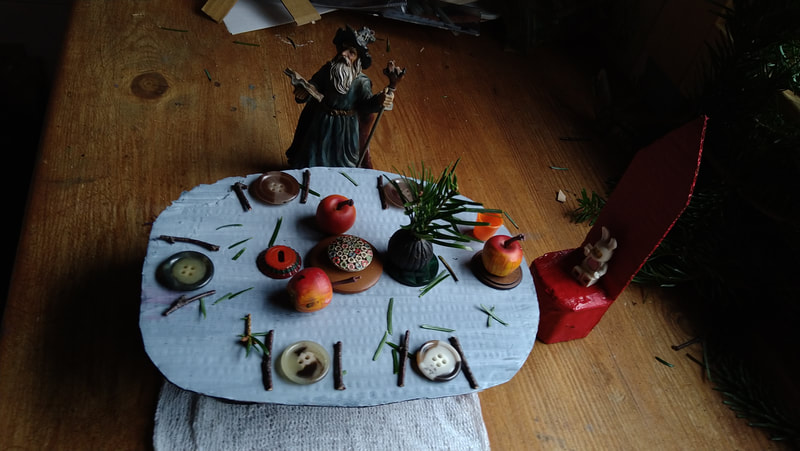
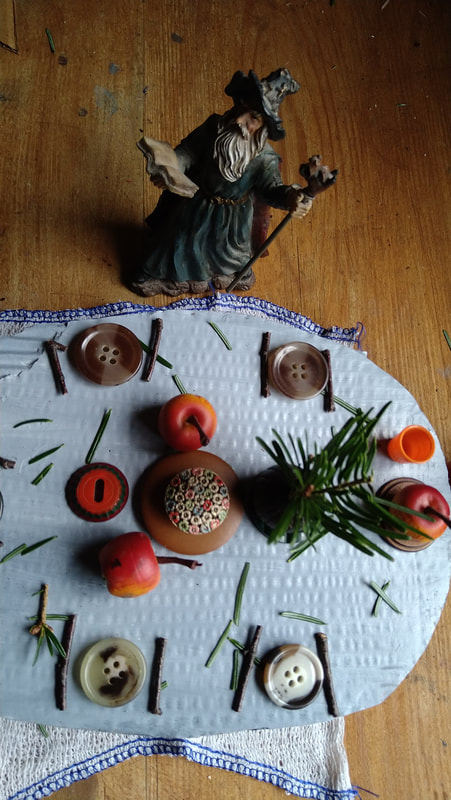
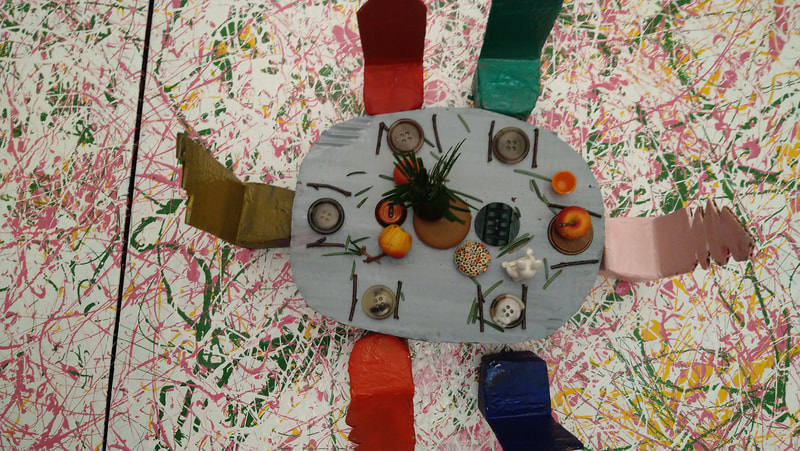
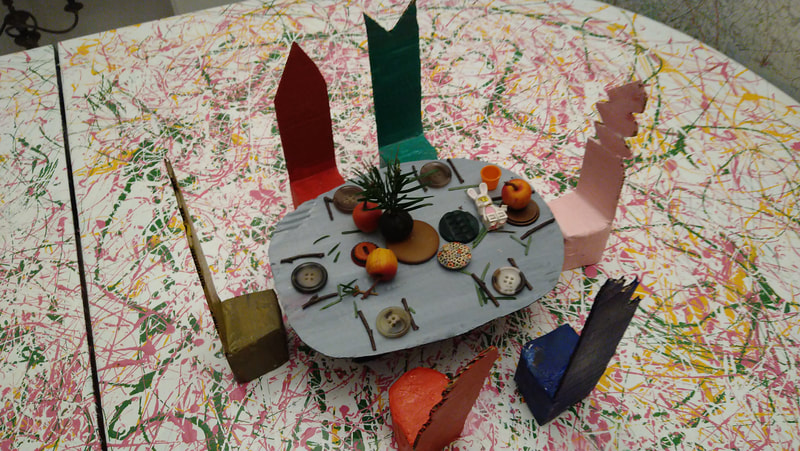
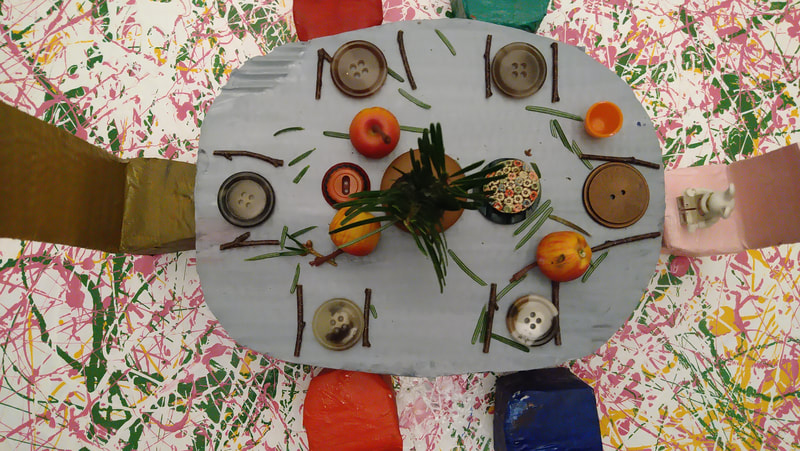
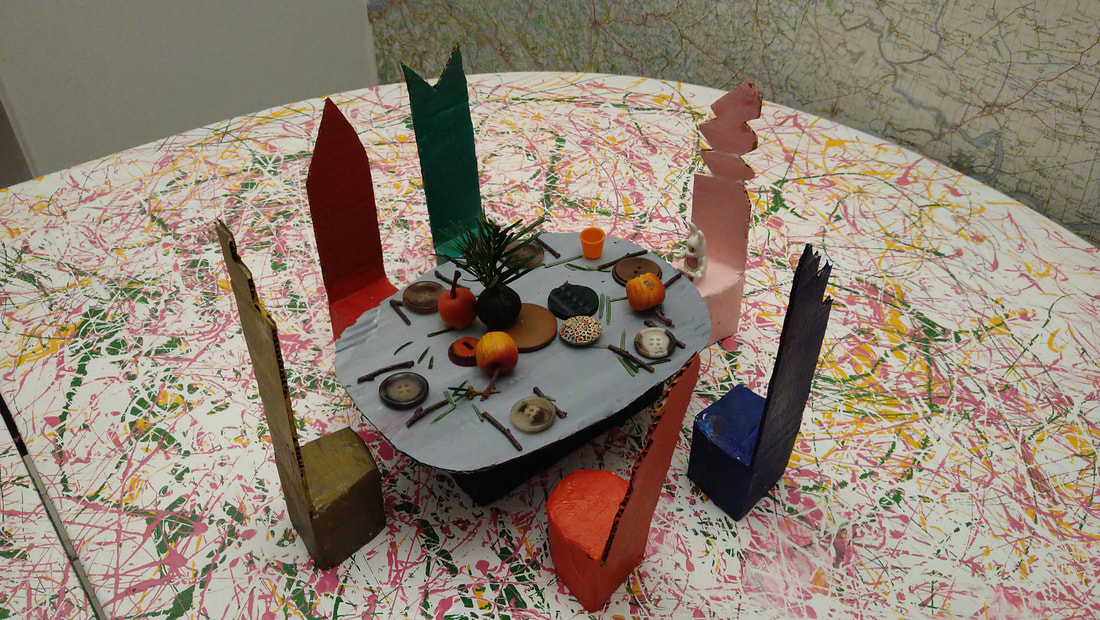
Tape and make.......2/14/2021 Make a fairy table, like the one in the photograph above. All you need along with masses of imagination, cardboard and masking tape, scissors and acrylic paint. I have tried to show you how to make something so fab, cool and easy to make. 1) measure out the size of your table top. Cut out your basic shape. 2) cut out the base of the table, two long strips and two short strips. 3) start taping the corners of the table base together demonstrated in the photographs above. 4) Tape the base and the the table top together, as demonstrated in photographs above. 5) Paint your table with acrylic, again please do not add water as you are using masking tape. I have kept my colours simple grey and black, but you can be really creative with colours. 6) Cut six long strips and six short strips of cardboard. Don't worry about the size of your seat as this will be cut into shape later. Tape the base of the seat to the back as shown in the photograph. 7) Use as much tape as you need to make the base secure. Now cut the top of the seat into whatever shape you want, you can repeat this with the other five chairs. 8) Now all your chairs are ready, for the seat base, cut a small piece of carboard and tape it to the seat base. then use your tape to secure it. 9) Now the chairs are ready to paint with any colour. As you can see from the above photographs I have had a lot of fun creating different shapes and using bright colours. 10) Now the fun bit to dress the table. I have a button box I can rake around in and find buttons to make into plates, and other bits and pieces I can set the table with, even a small thimble as a cup. 11) As you can see from the photographs you can be as creative as possible, keep in mind, which fairies are coming to tea? 12) A wizard and a rabbit popped in to test the table for the fairies. What do you think? And now you are ready to invite your special guests. Remember I have created this out of cardboard, using masking tape and acrylic paint. What will you make next?
0 Comments
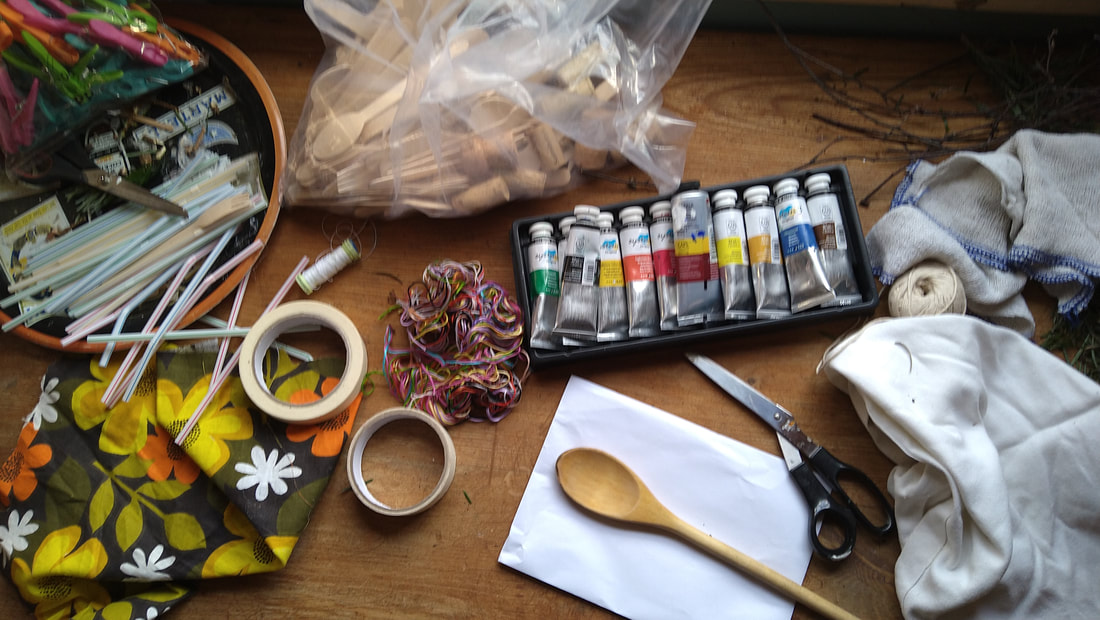
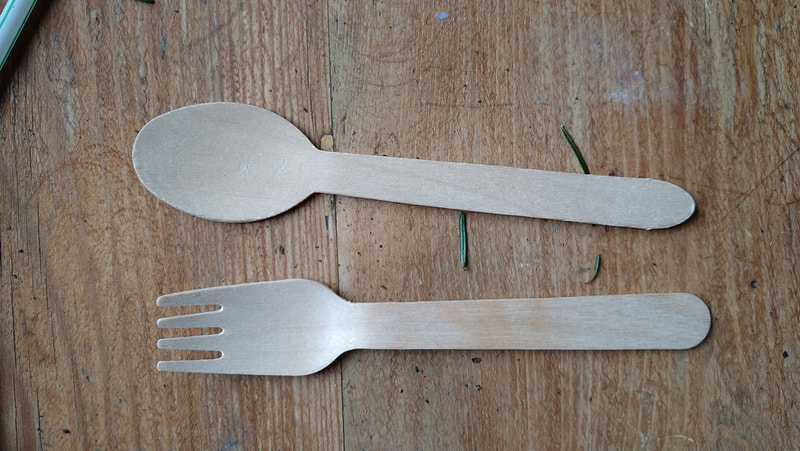
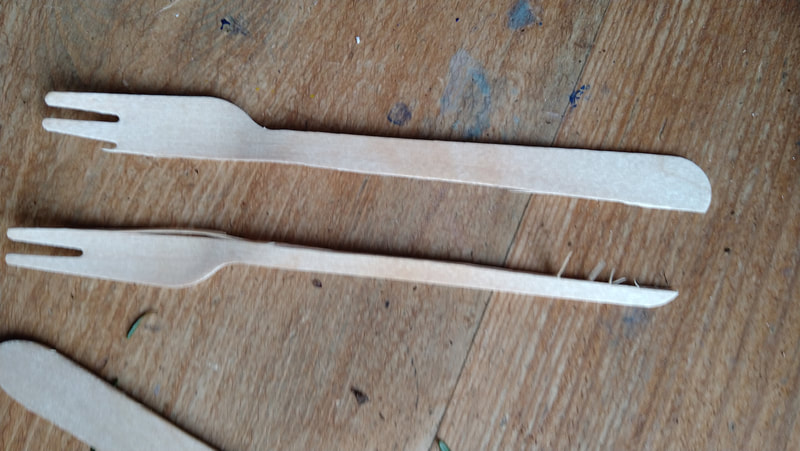
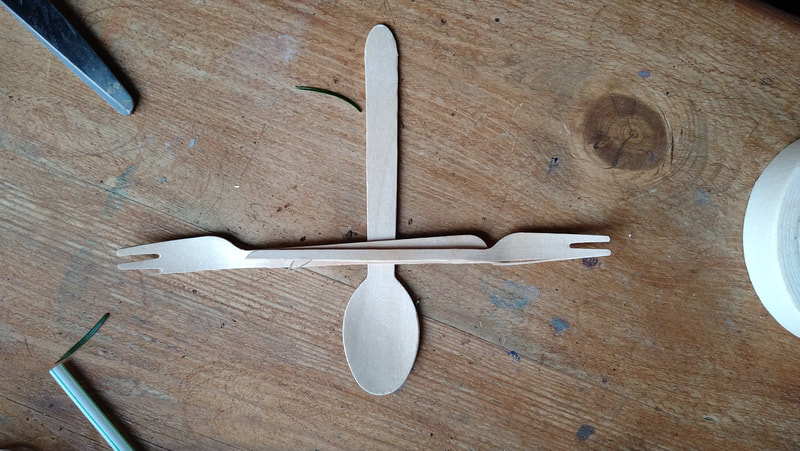
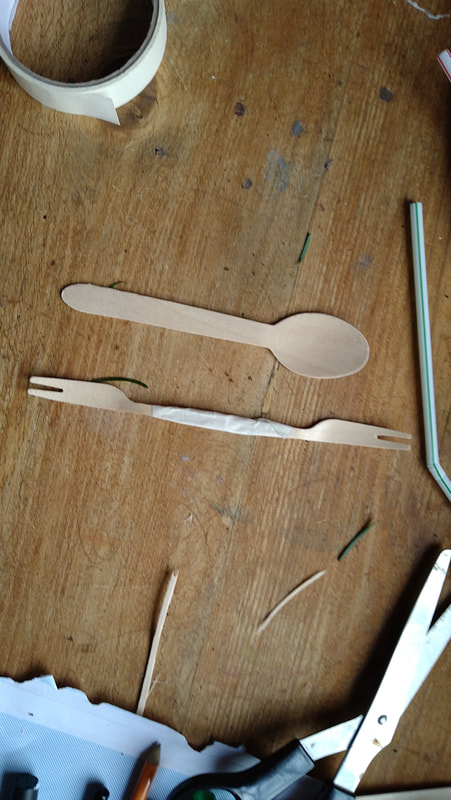
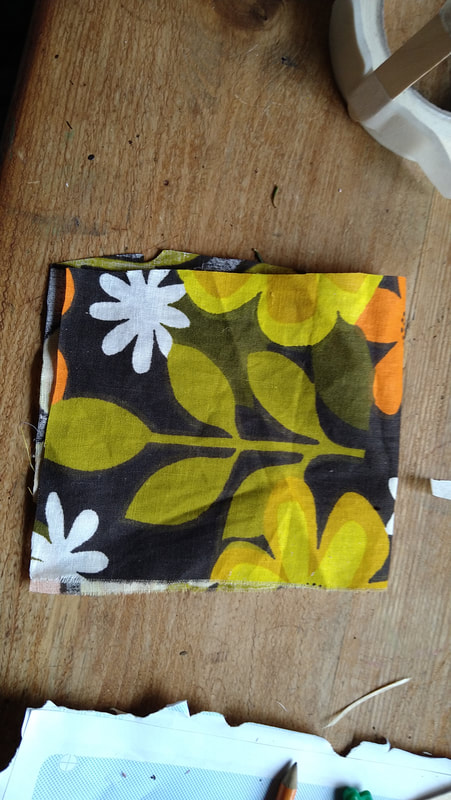
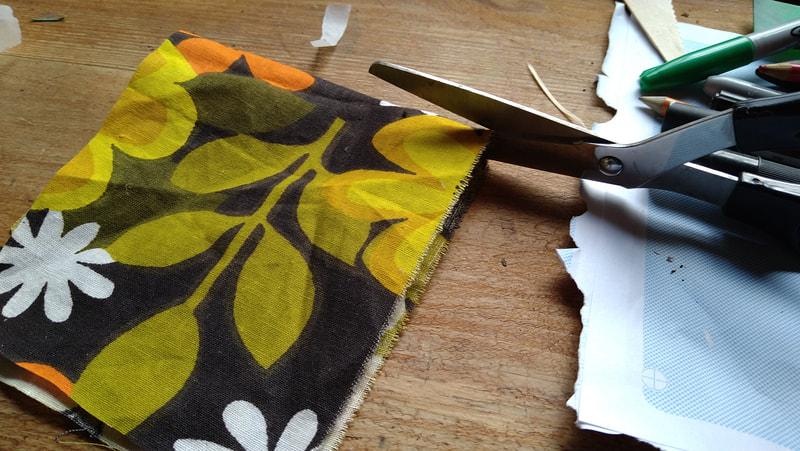
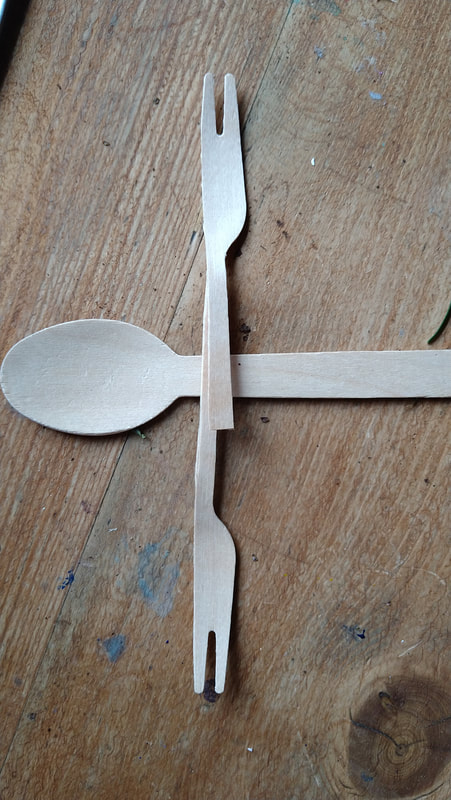
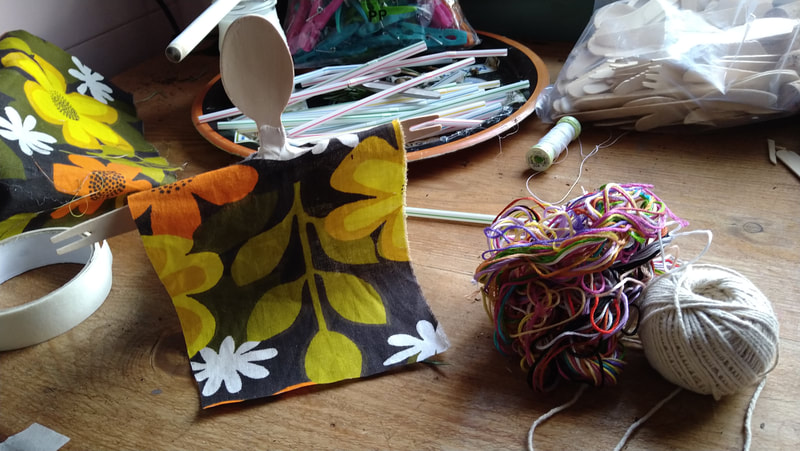
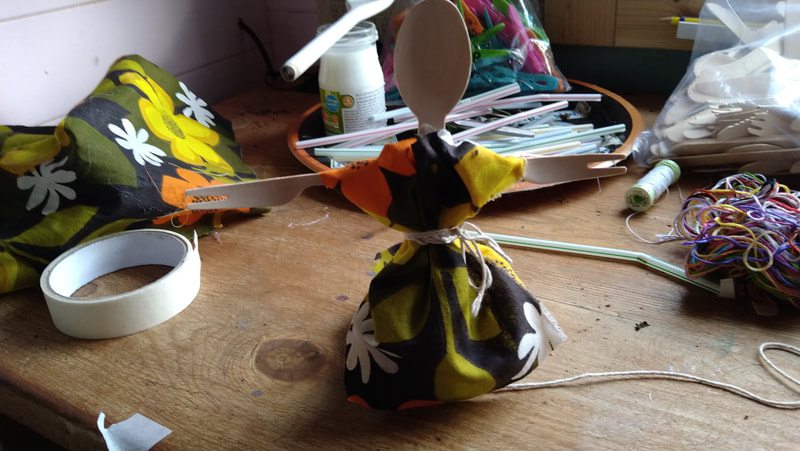
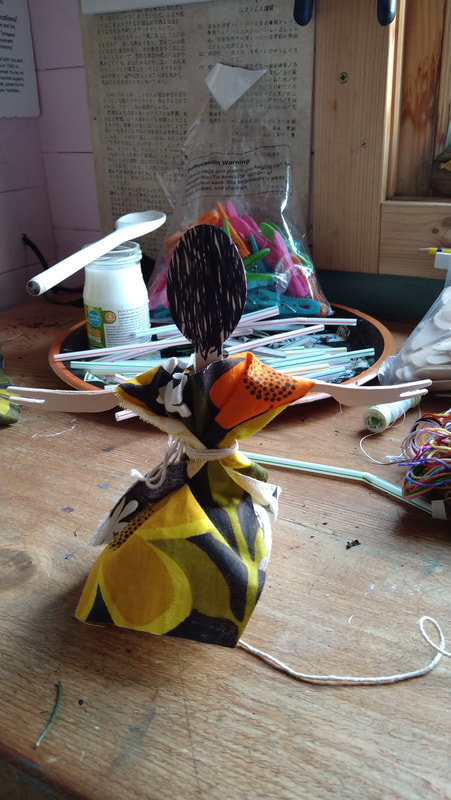
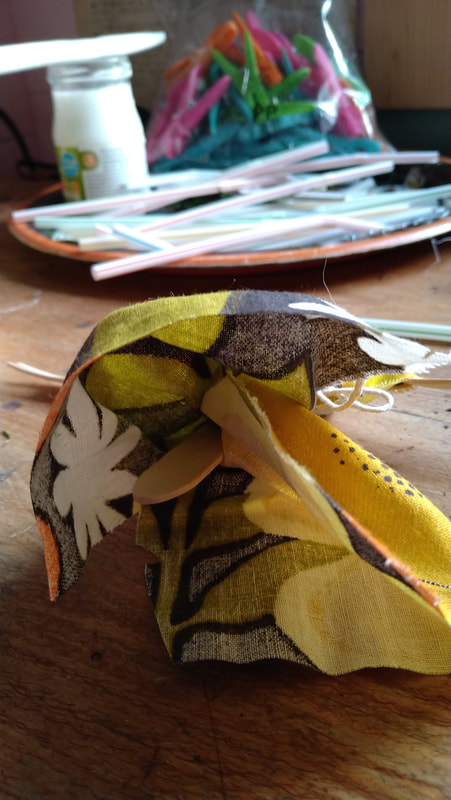
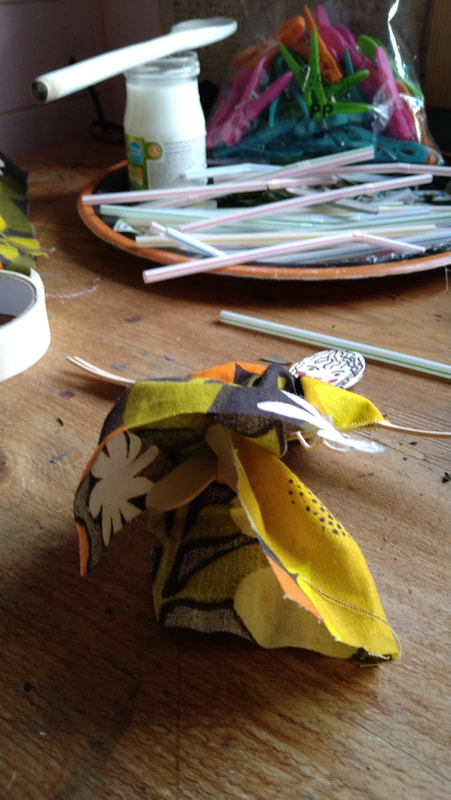
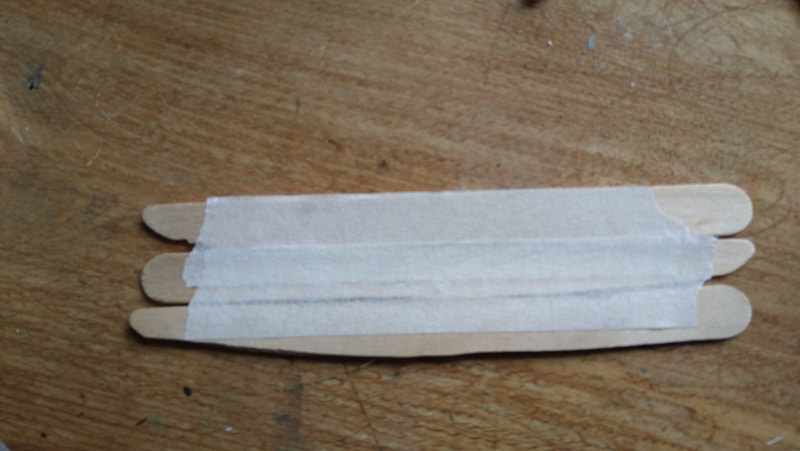
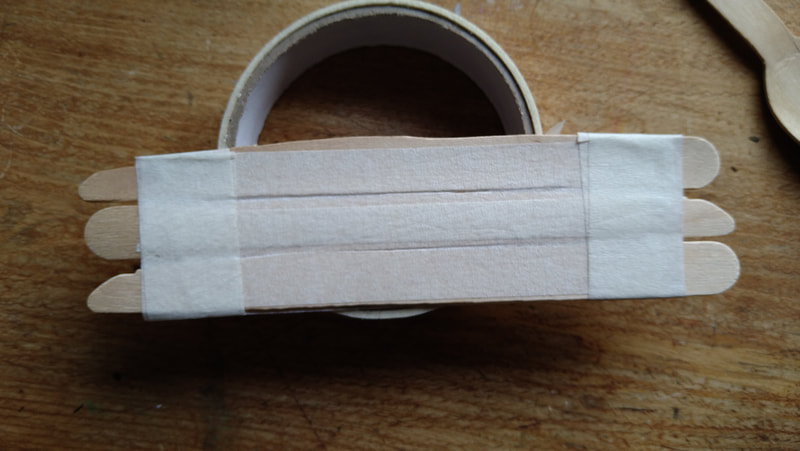
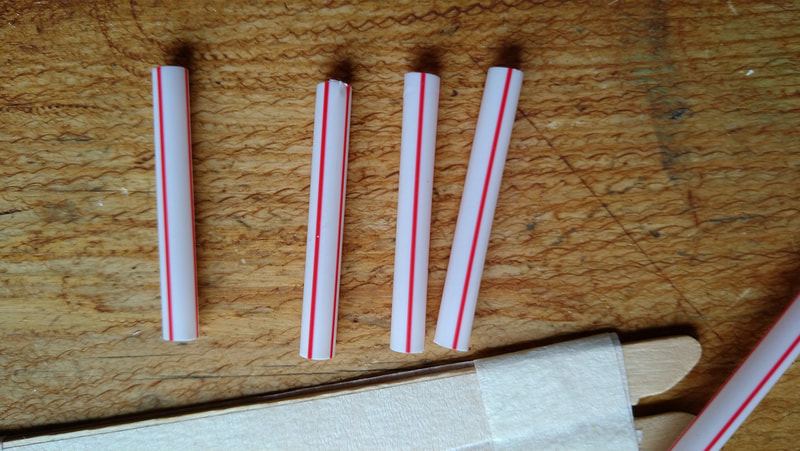
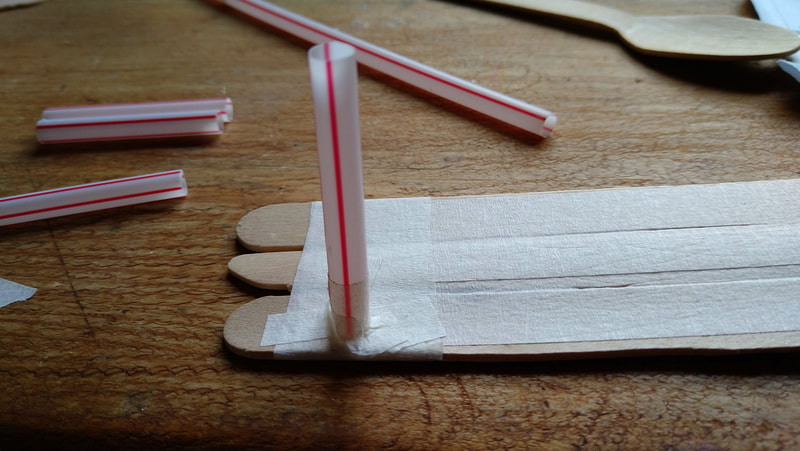
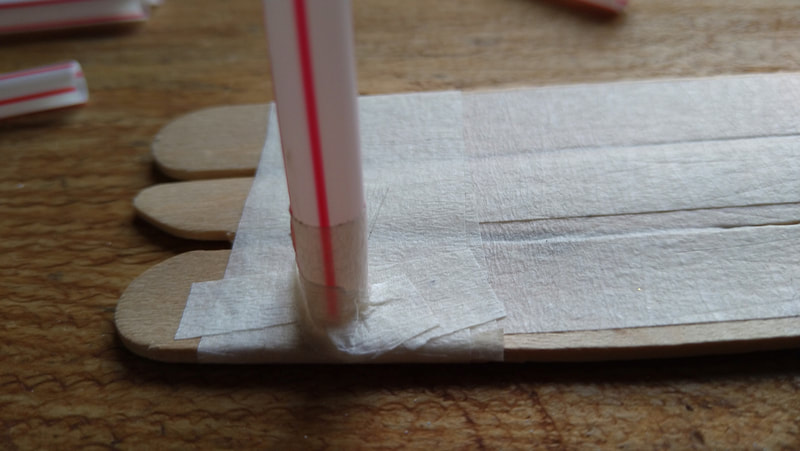
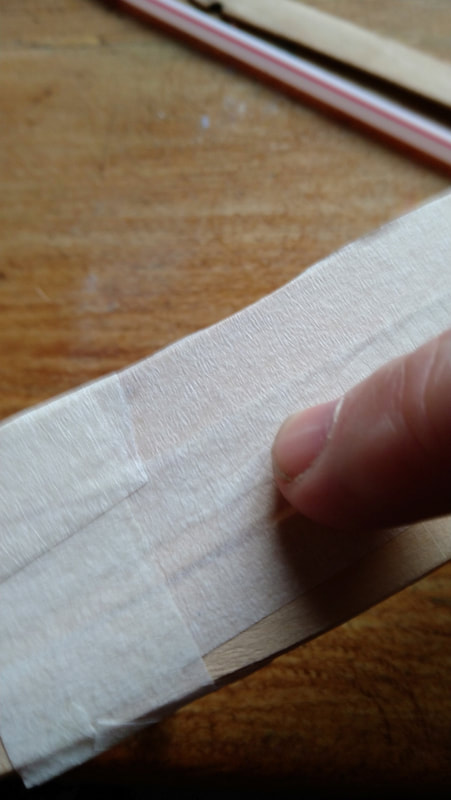
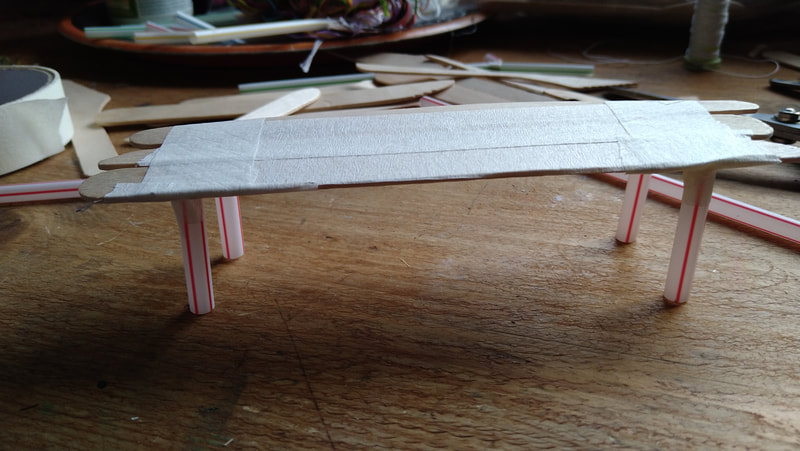
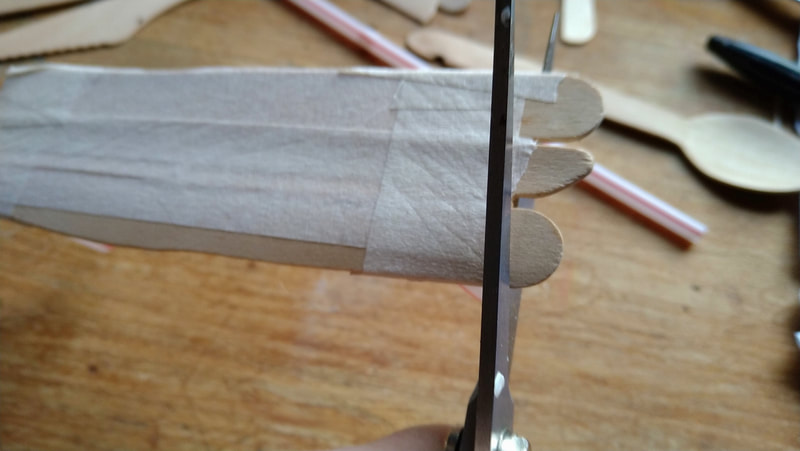
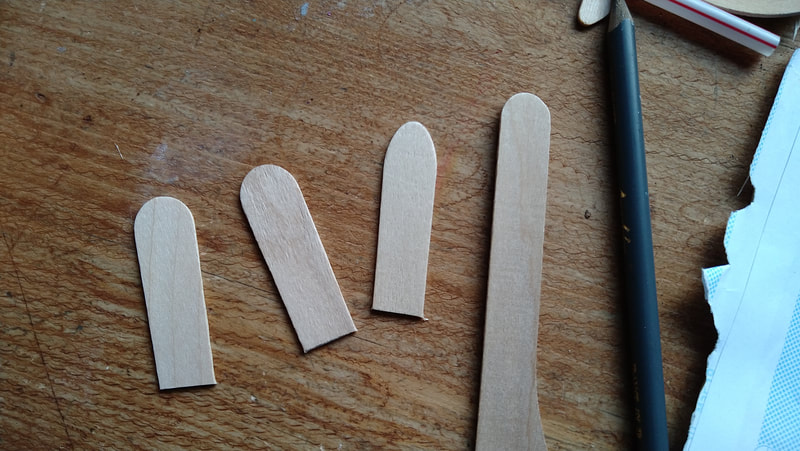
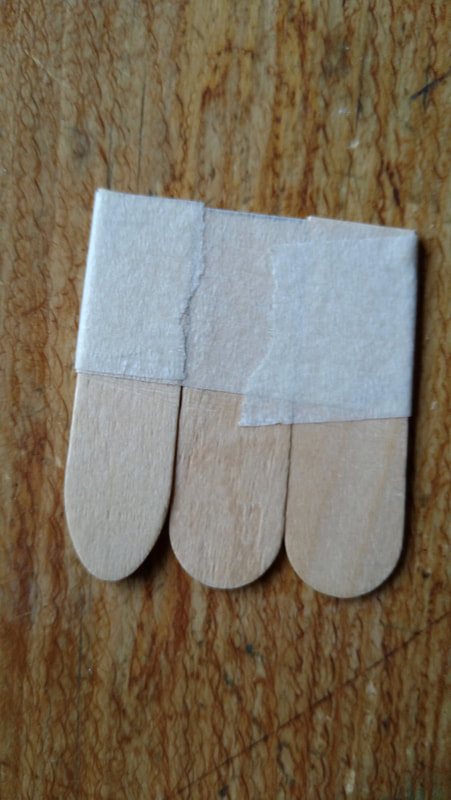
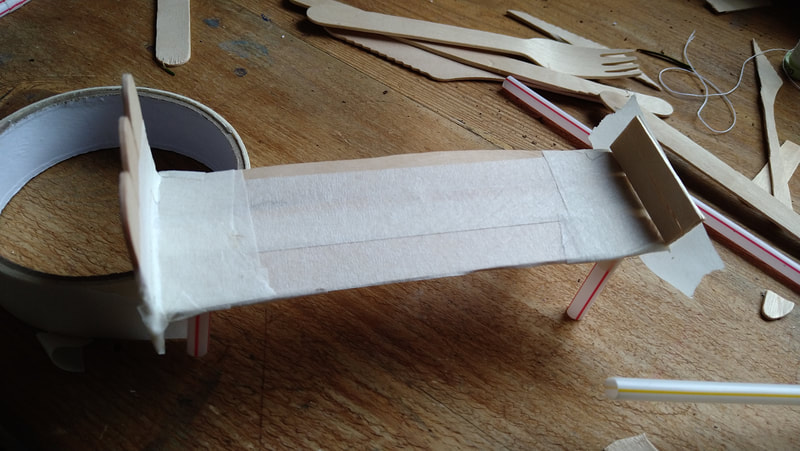
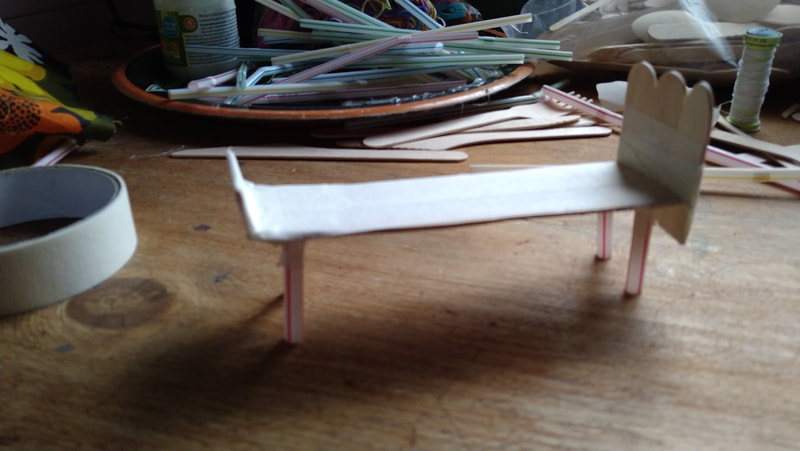
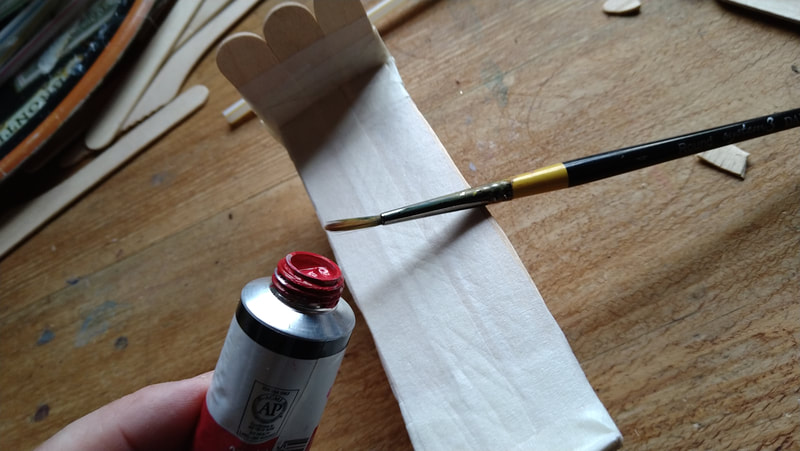
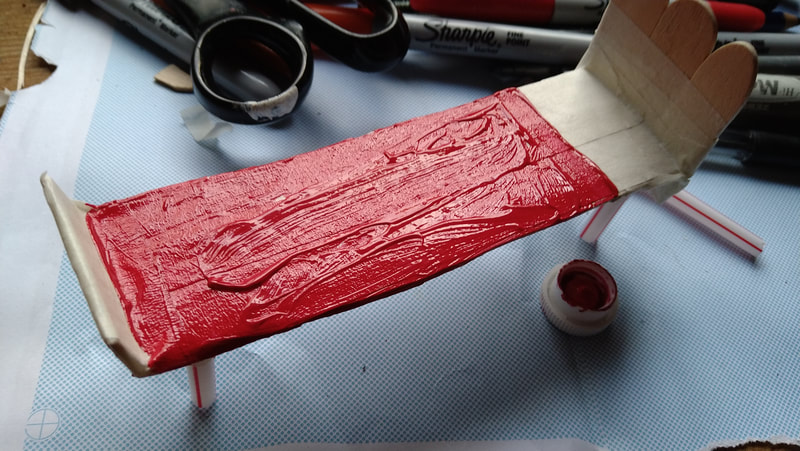
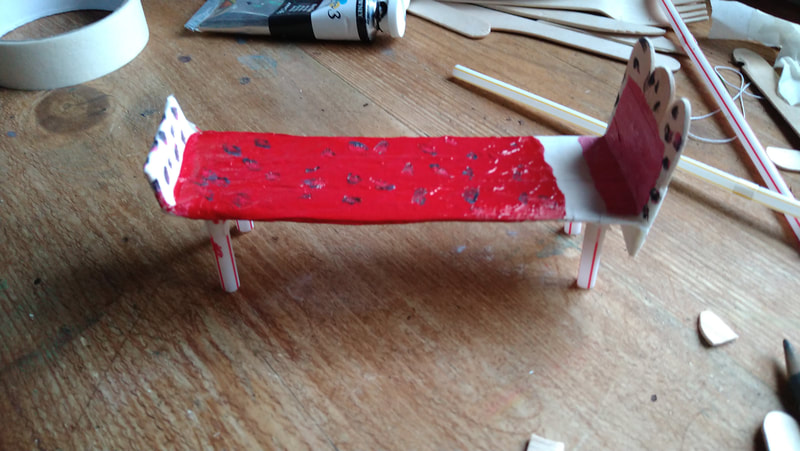
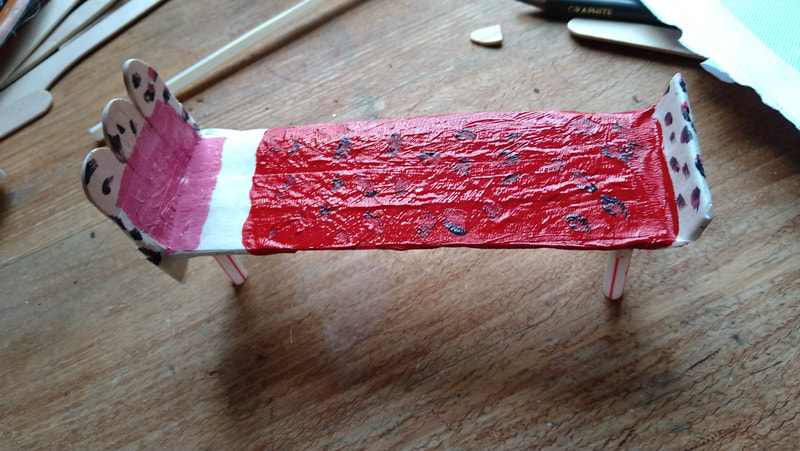
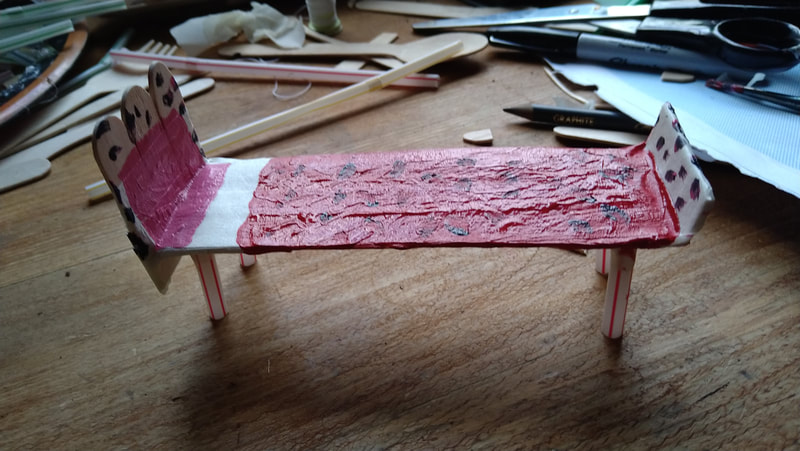
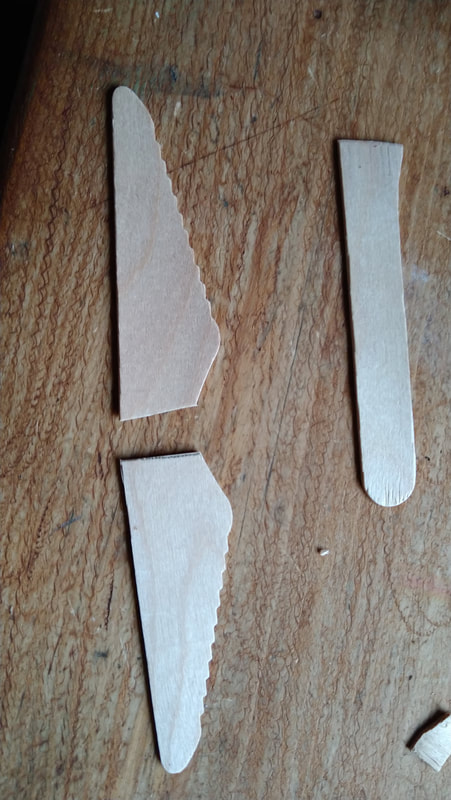
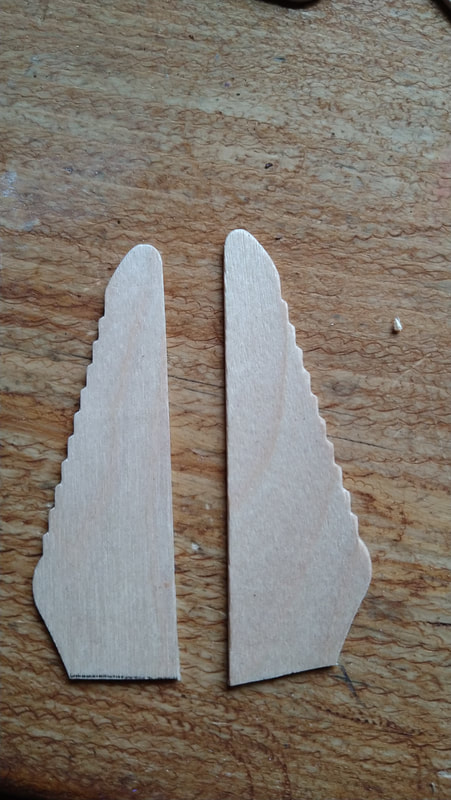
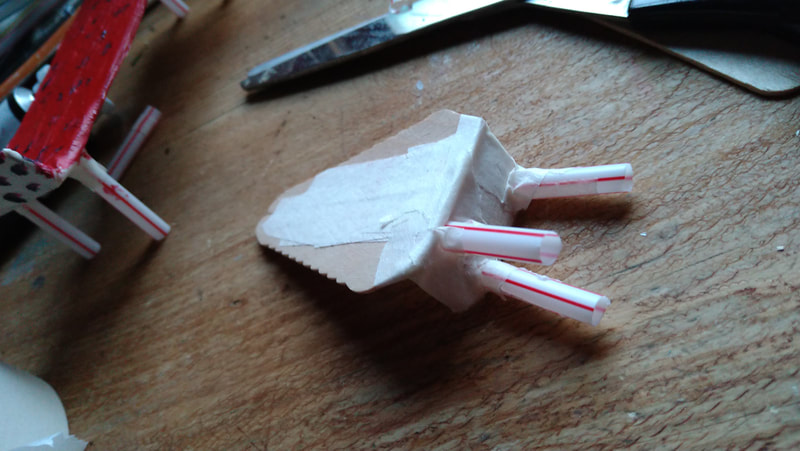
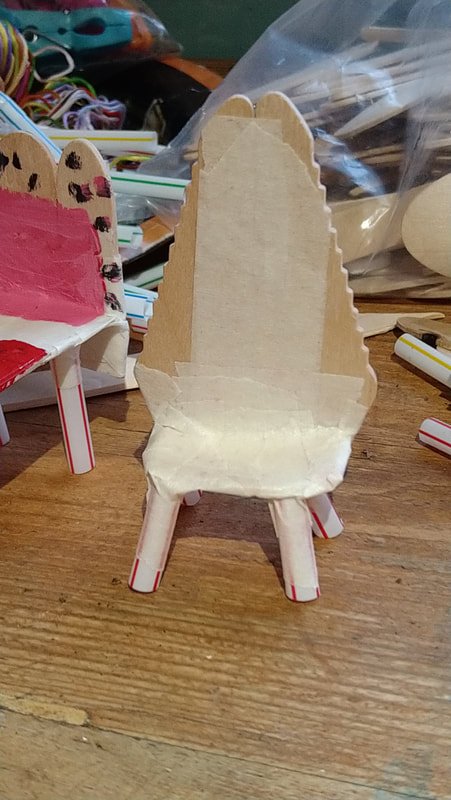
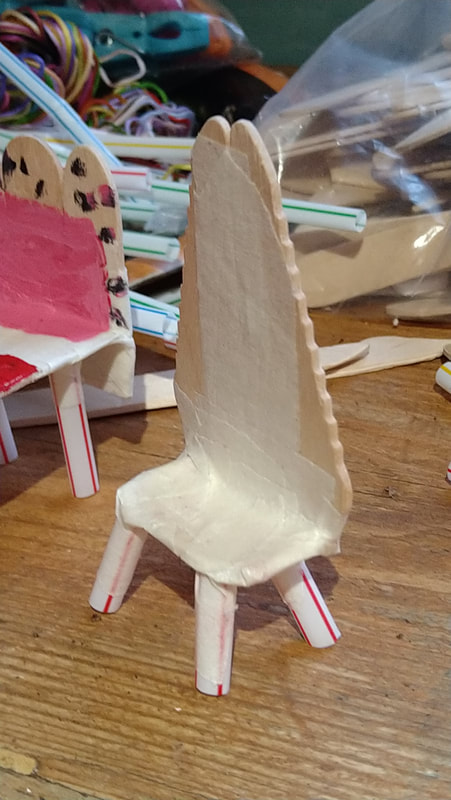
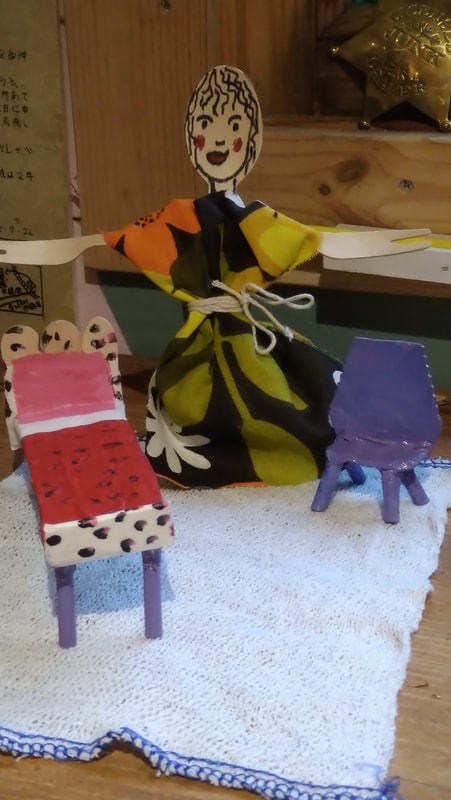
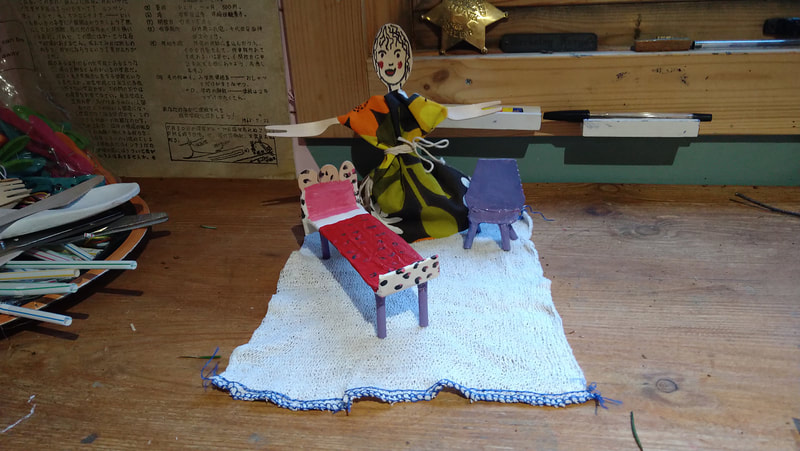
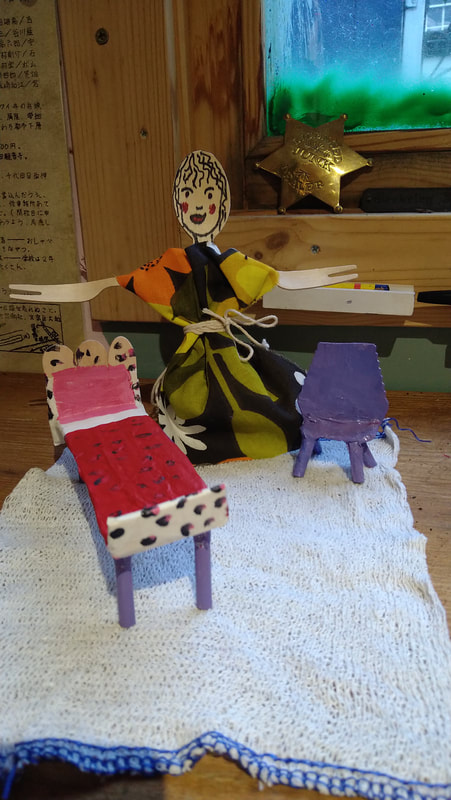
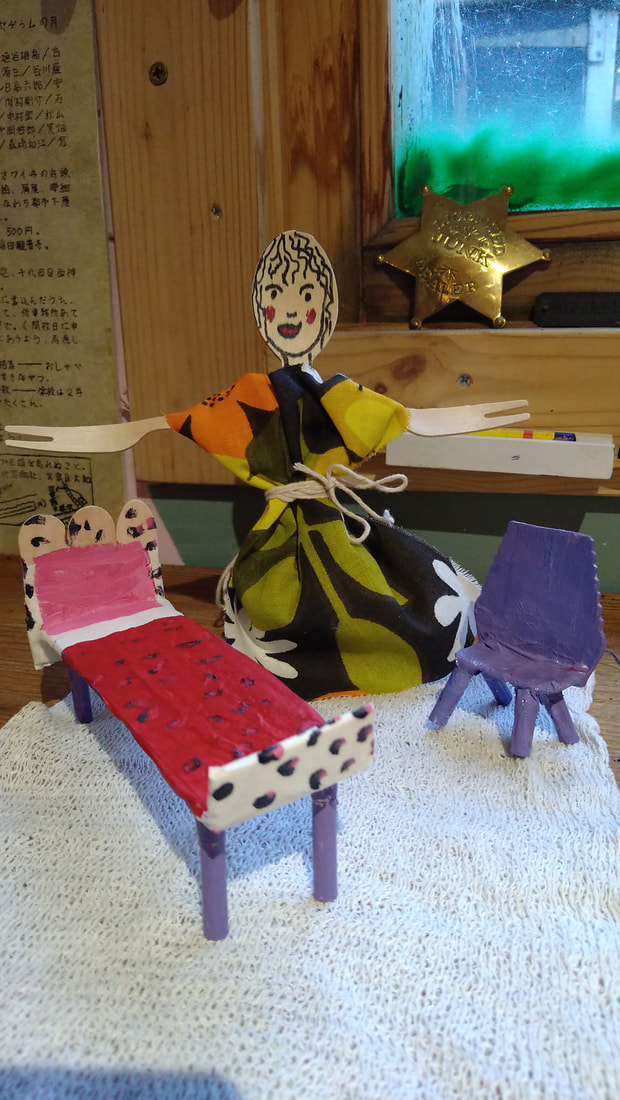
Making with tape and bits2/12/2021 In this blog we will look at what you can make with very little material or skill but lots of imagination! In every house there is normally a box, bag, drawer or cupboard that is full of interesting objects, bits and pieces that no one uses any more. It is in these places that you might find things to make something from. I have a bag of old wooden cutlery, straws , old material, acrylic paints and masking tape. My aim today is to make a bed, a chair and a fairy! 1) I have decided to make a fairy, so I am using an old wooden spoon and fork. As you can see with the above photographs I have split the fork in half just using my fingers, the marked out how to use them for hands and arms. 2) Using masking tape I have joined both ends of the fork together. Take a an old piece of material cut it to size. 3) Tape the arms to the body, use as much tape so it feels strong. Then take your material and fold, cut a small hole so you can slip the head through. Fold in material and tie with some string. 4) take felt pen and draw your fairies face and hair. 5) let make your fairy a bed to sleep in. I have taken some of the broken wooden forks and taped them together, then I cut the ends to make them straight. 6) if you have an old straw, cut into four small pieces, then use your masking tape to start taping the legs to the bed. 7) Once you have all your masking tape on, take your nail and score it, as this will help it to stick to the wood. Take your scissors and cut along the bed ends to prepare them for the head board. 8) Though I am using discarded wooden cutlery, you can use old lolly pop sticks! Take three pieces to create your headboard. Then tape them together, Repeat this again for the foot board. 9) I am gong to paint my bed red, remember do not dilute with water, as this will loosen up the gum on the tape, keep the acrylic as dry as possible. You will find that you won't need a lot. 10) You can paint your pillow and also paint some patterns on the bed cover, also you can paint the legs. 11) Lets now make a chair! Cut up your bits of wood or lollipop sticks, then tape them together as demonstrated in the photographs. Like the bed you can make legs out of straws, which you tape them to the base. 12) You will find masking tape is very easy to work with as you can tear bits off, to stick to the straw and the base until you feel happy with the strength of the chair. Now it is ready for you paint the chair of any colour that appeals to you. Now you have your fairy bed and chair, and yes the fairy herself. As you can see I have played around with the colours. Remember there is no glue, just masking tape and little bits and pieces. Have fun..What will you make next?
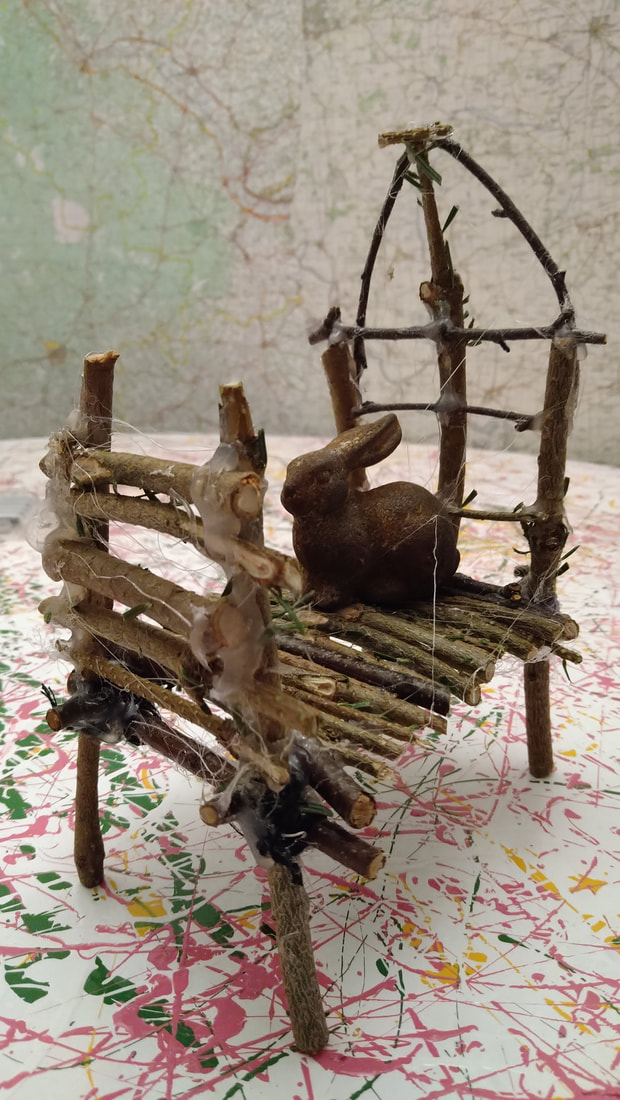
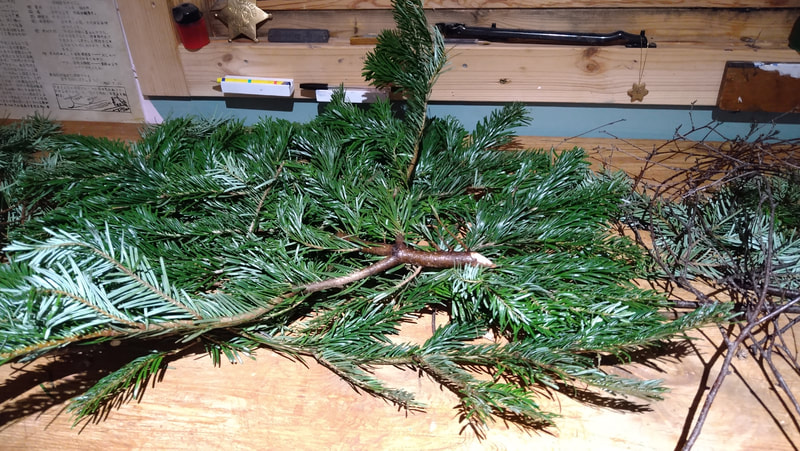
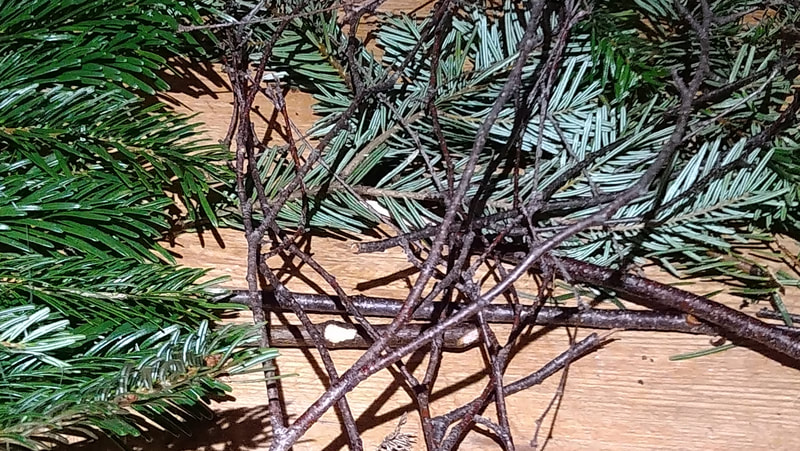
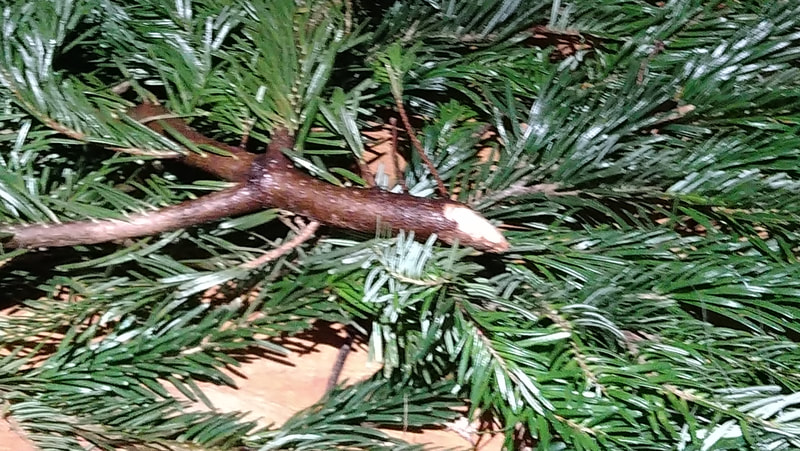
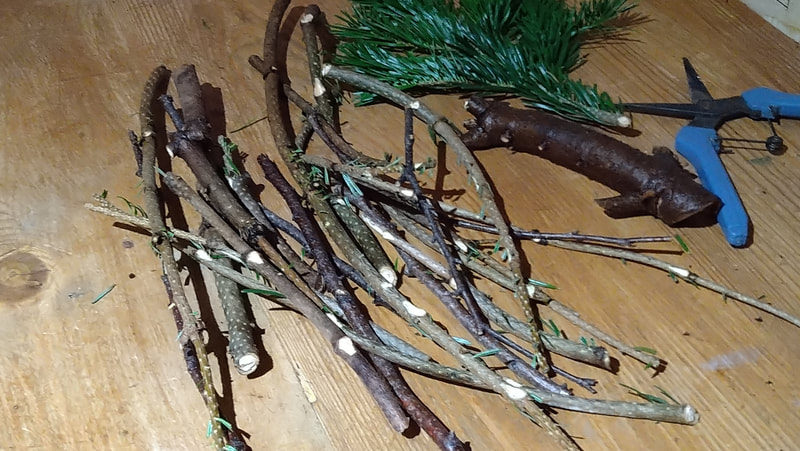
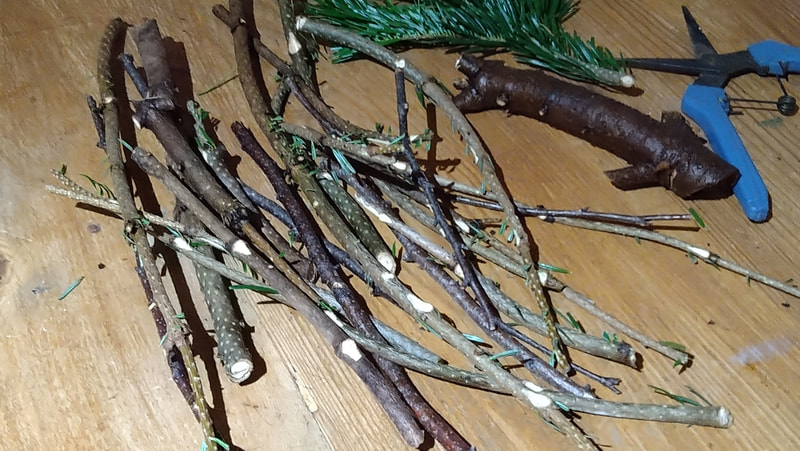
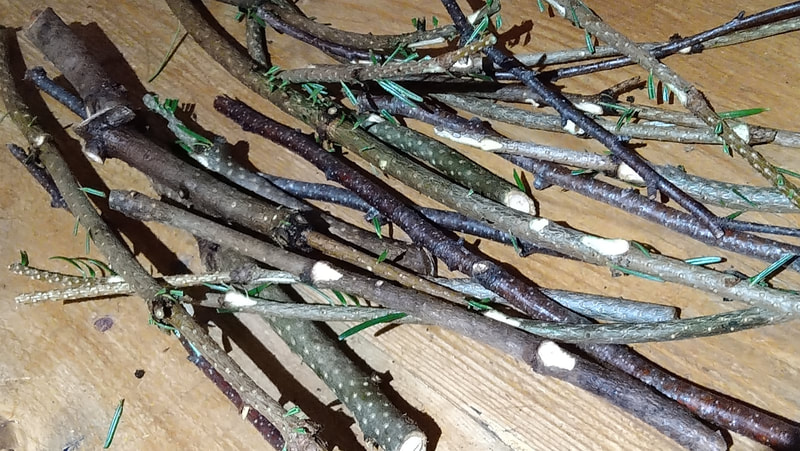
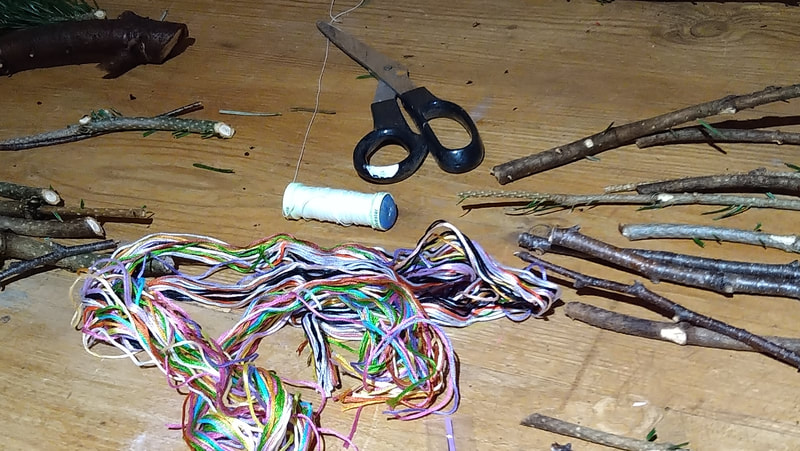
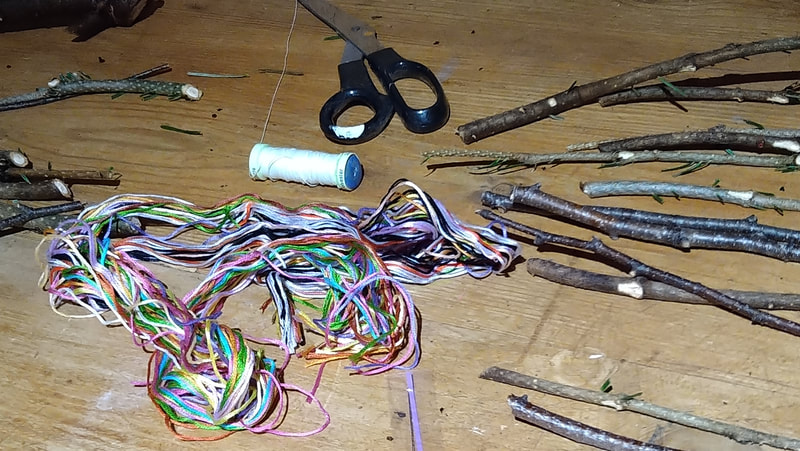
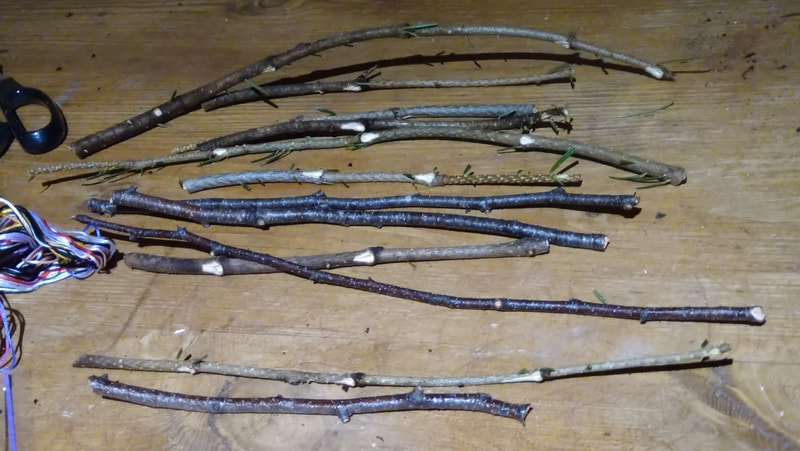
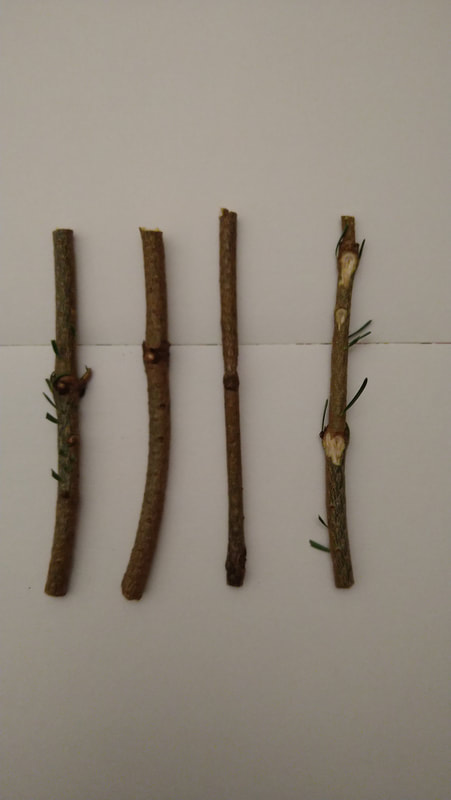
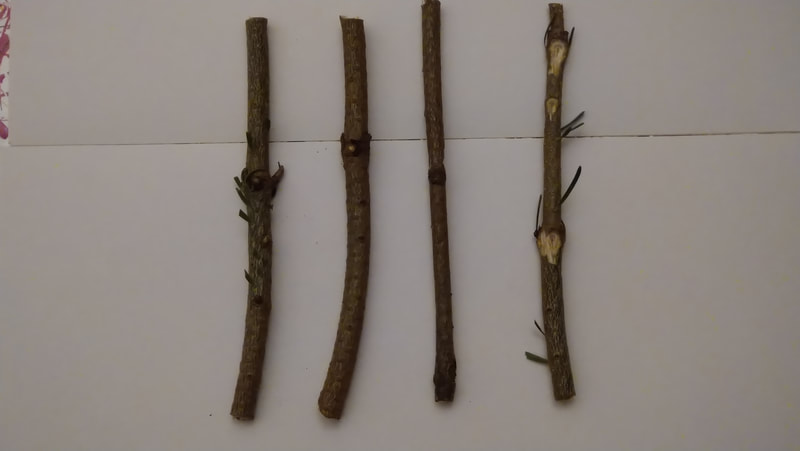
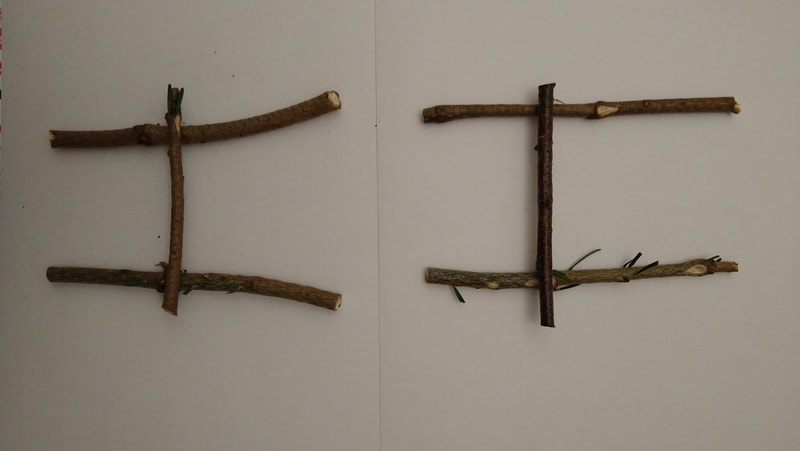
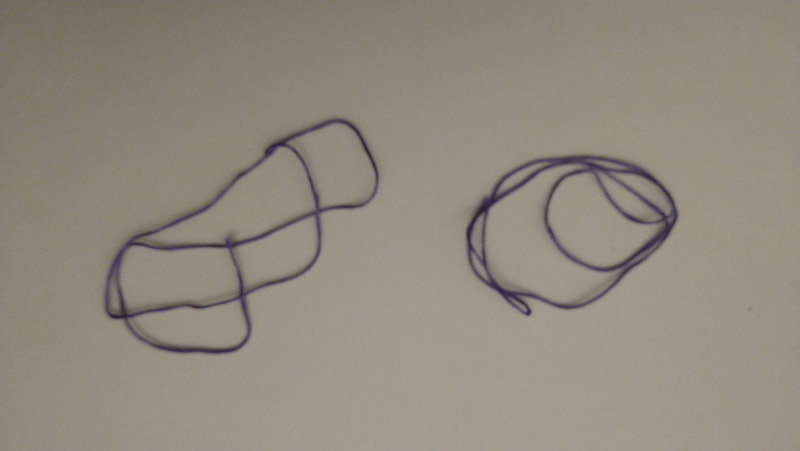
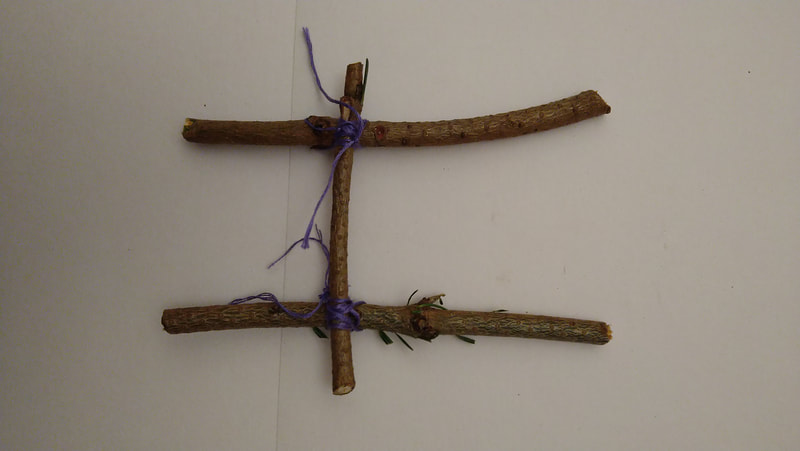
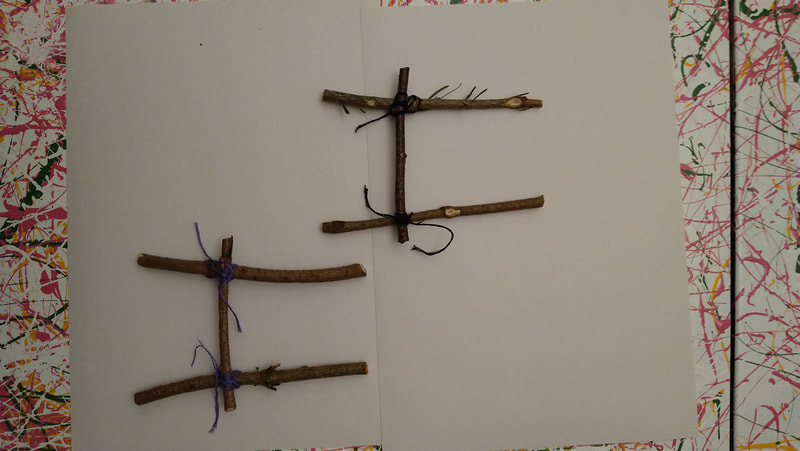
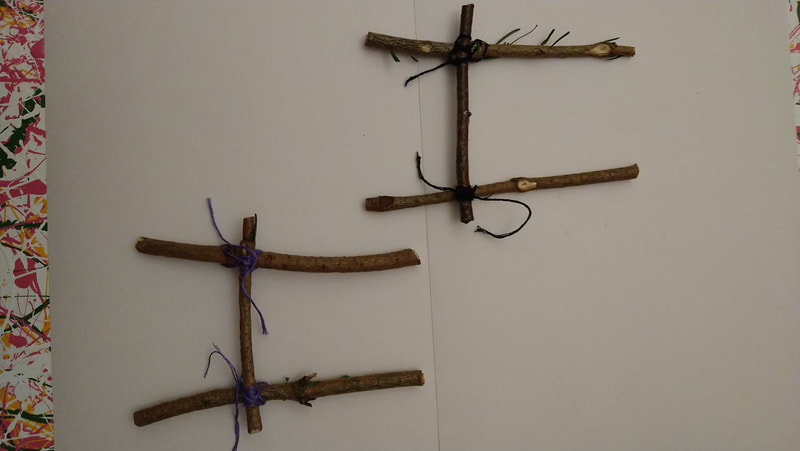
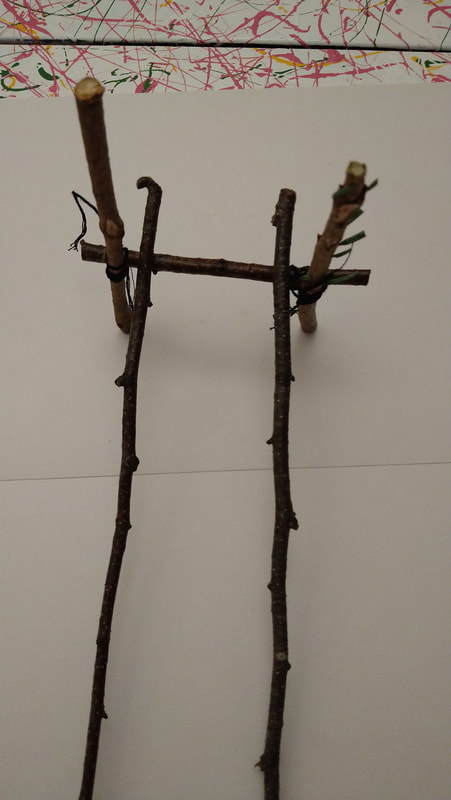
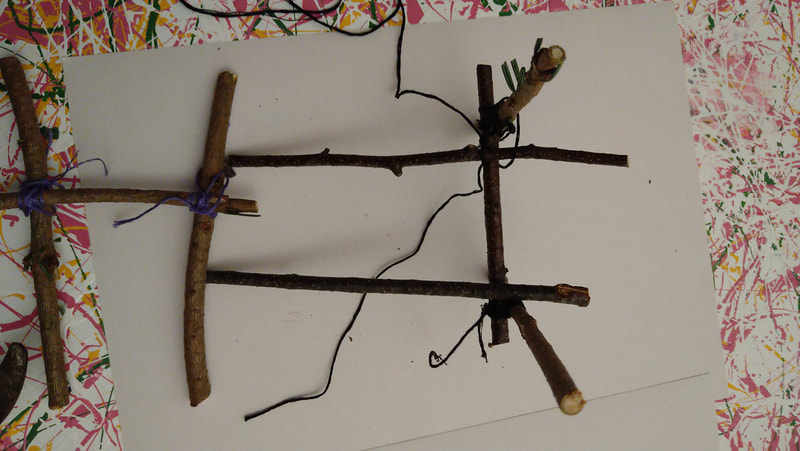
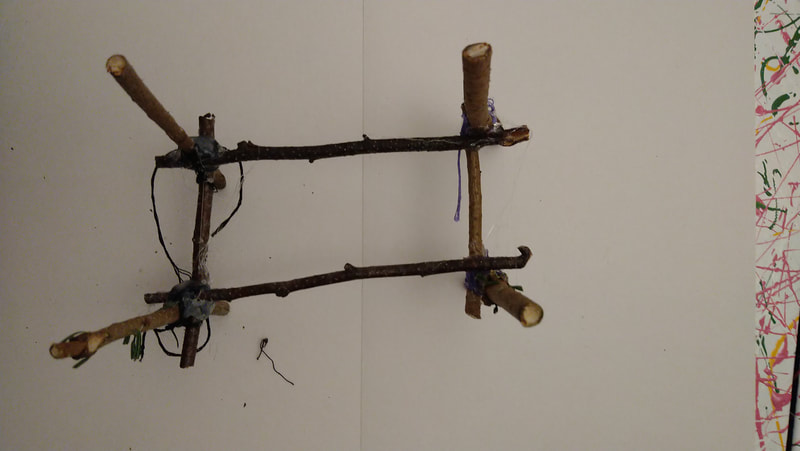
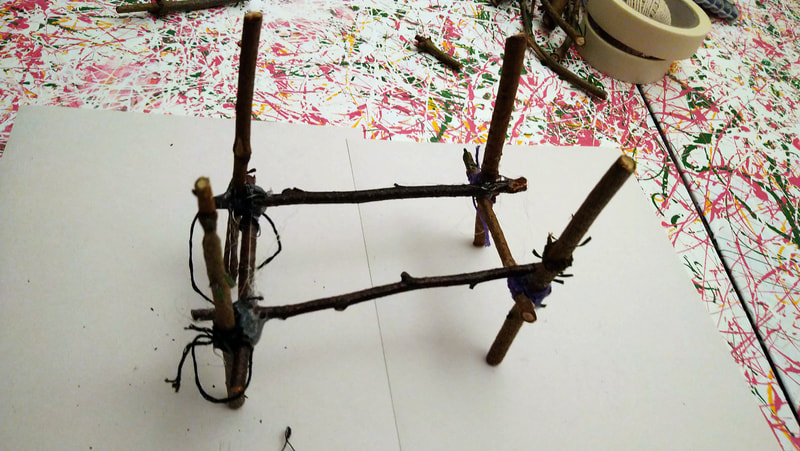
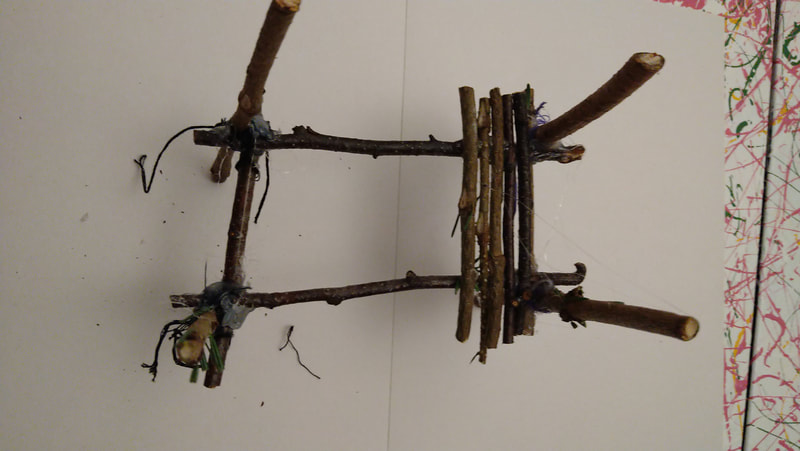
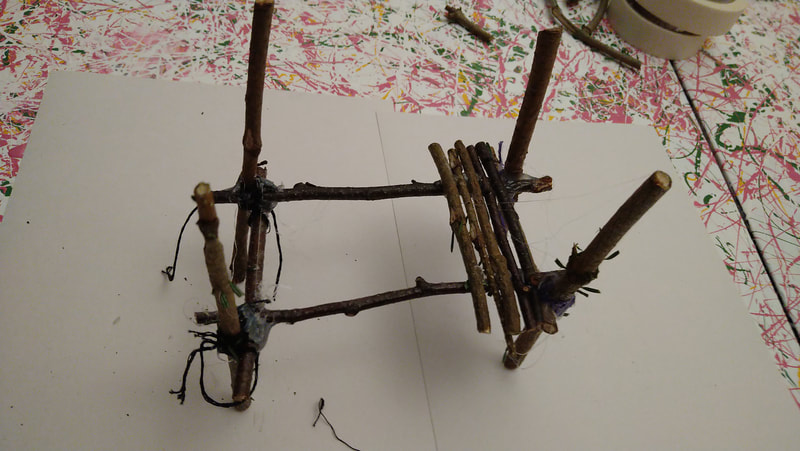
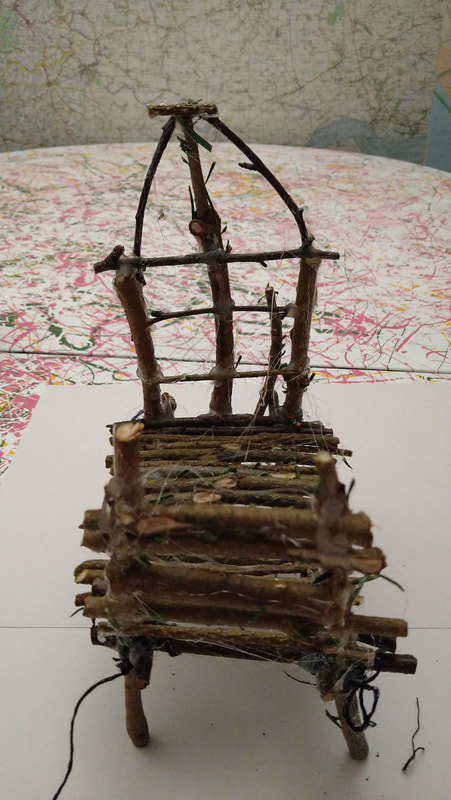
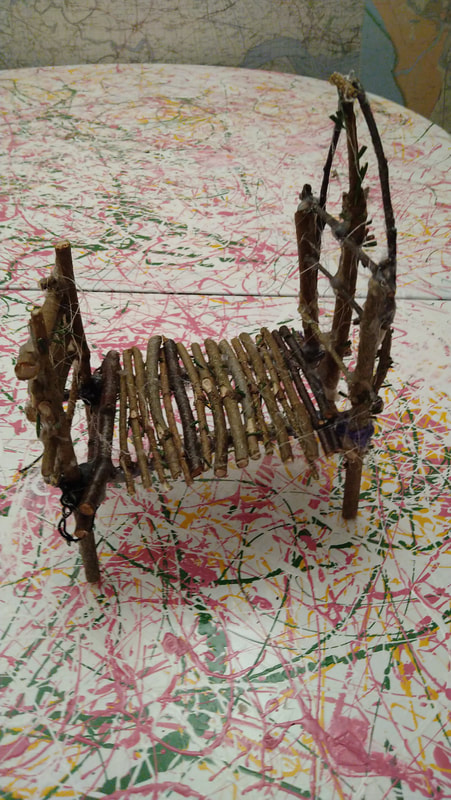
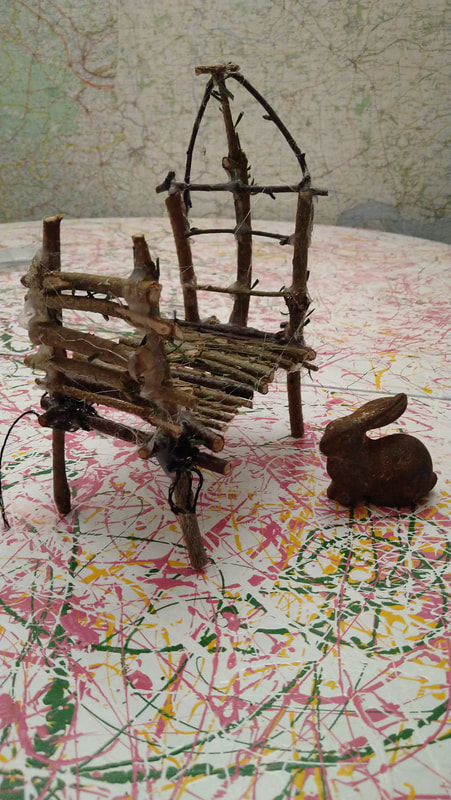
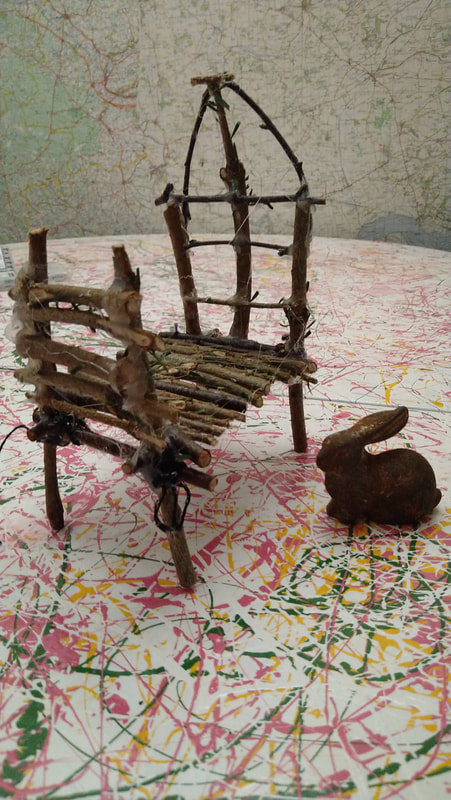
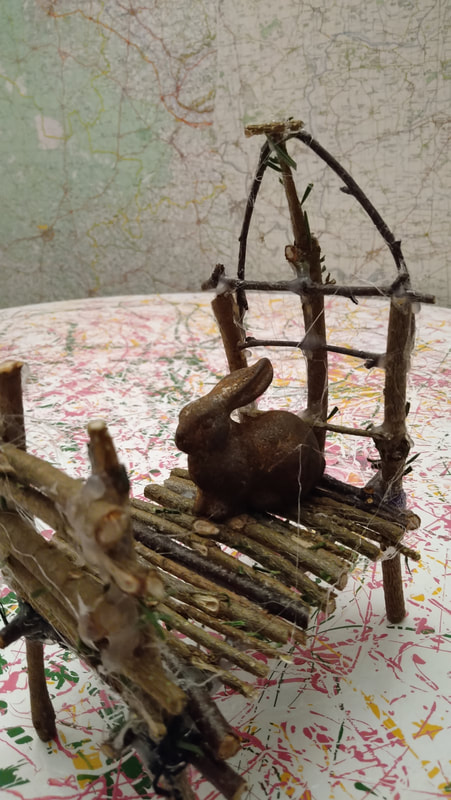
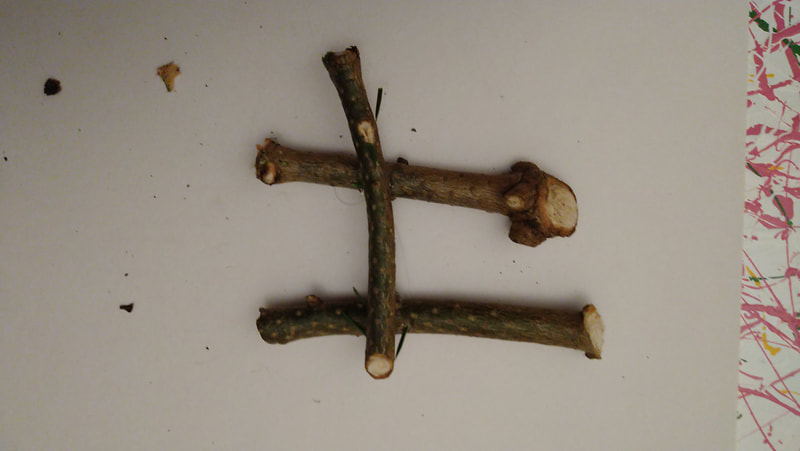
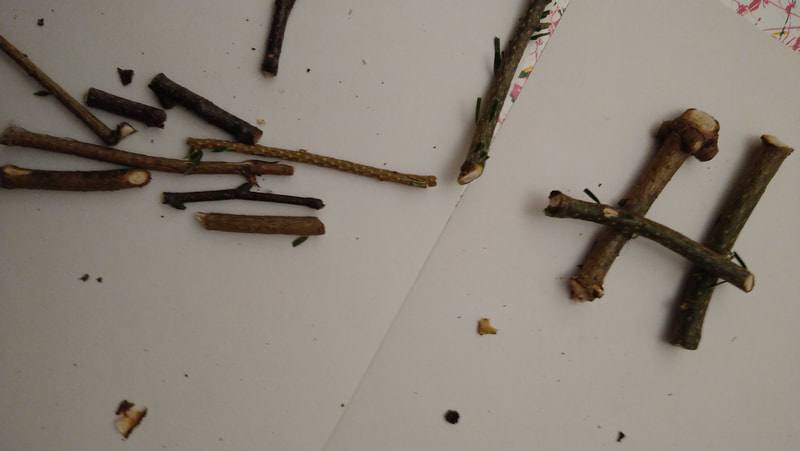
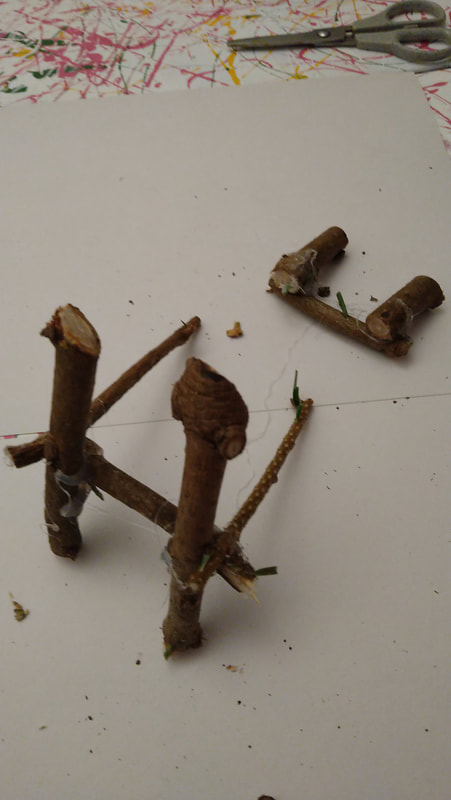
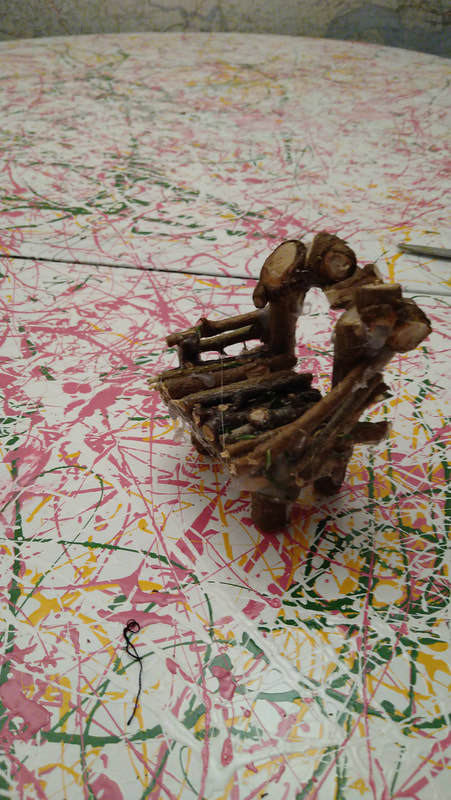
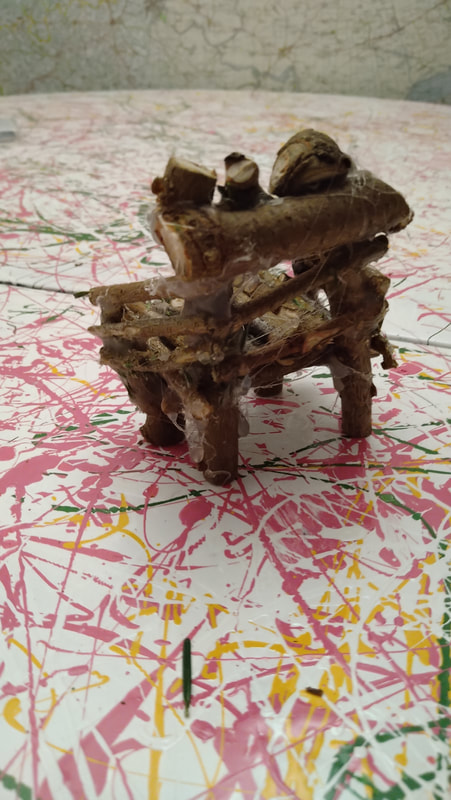
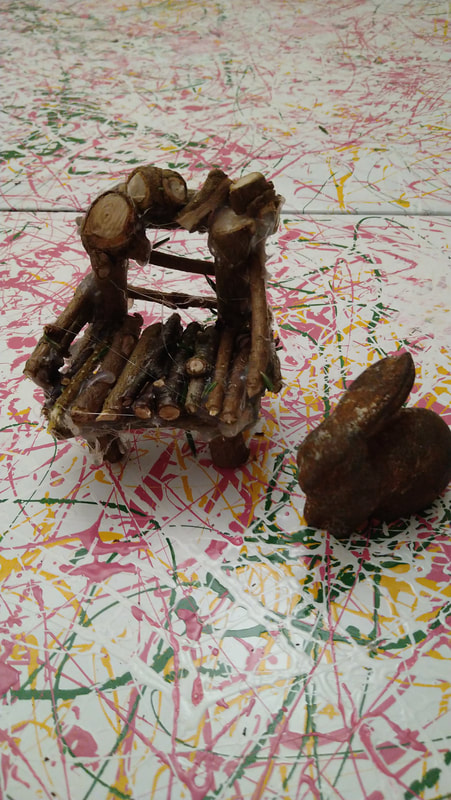
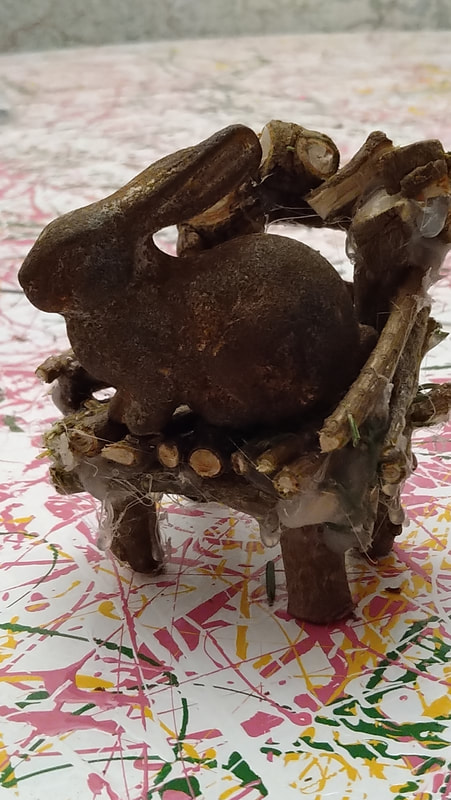
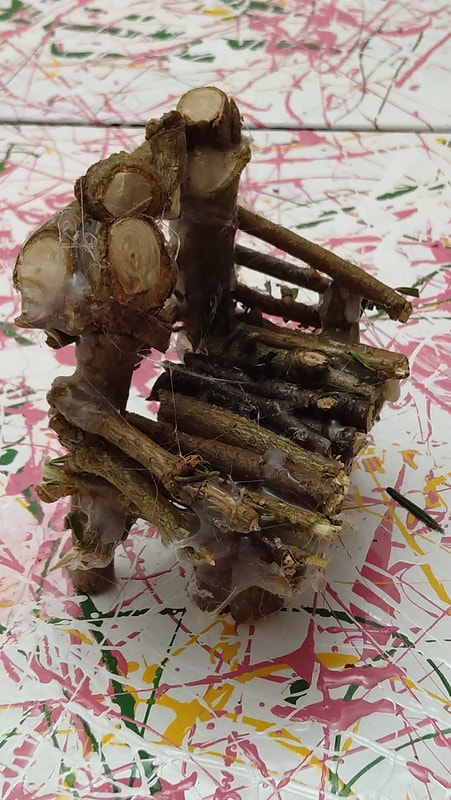
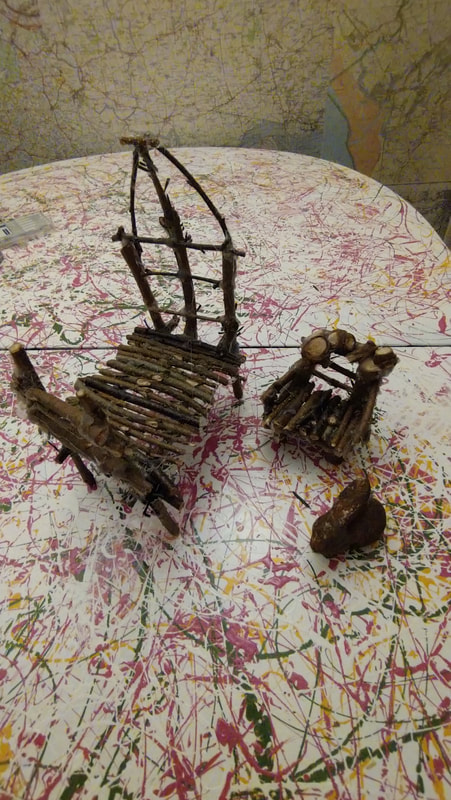
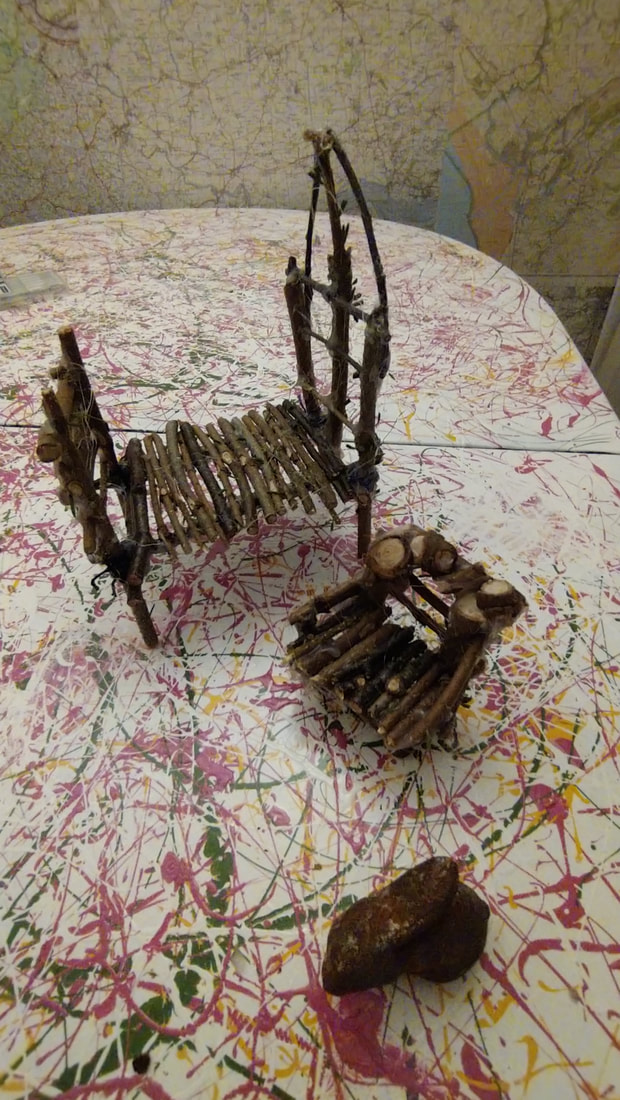
The making of fairy furniture2/11/2021 Bunnies are like cats, they like to get into everything From Rita Robin to making fairy furniture! As part of the OSO story and treasure hunt, this involves also making some furniture for the fairies to move into their new home. The question I was asked "How do you make fairy furniture?" I did come up with some ideas. For the OSO I have tried to keep it simple. Here is a visual guide to making a fairy bed and chair. 1) Select your material. "I chose to recycle an old Christmas tree" 2) Strip the excess green off to reveal the wood and clip each end. (if you are a family making this, do make sure you have an adult to assist with the secateurs) 3) You may need a pair of scissors, some string or thread. (If you are family make sure young children have adult support with using scissors) 4) To make the bed, you need to cut four long pieces of wood and two short pieces of wood as demonstrated in the photograph above. 5) Make the letter H with you six pieces of wood. Remember two long pieces on either side and the short piece goes across as demonstrated. You will need some string or thread. 6) Take your string or thread and tie the pieces of wood together, do not worry at this stage if it feels wobbly, we will sort that out later. 7) At this stage of your bed, get two longer pieces of wood, they can be as long or as short, depending how tall or how small the fairy people are? Tie the longer pieces on to your H at one end and on to the H at the other end. 8) Now that you have the frame of your bed, it is time to add smaller pieces of wood. I have used a glue gun, (if you are a family with small children, please be aware that the glue gun can be quite hot and can burn delicate fingers, so adults only!) You can also go back over the parts of the bed you have tied to add extra strength. 9) Keep gluing all the small pieces of wood until you are happy with the base. I also made a fancy head board, just have fun and add any other features you feel that you want to add. 10) Now its ready. "O' dear here comes that pesky bunny wanting to try out the bed." 11) You may have some off cuts left, why don't you try making a chair! It is exactly the same process as making the bed, as you can see, start with the letter H and then cut the wood to size. Use your glue gun to glue the pieces together, and cut the sizes that you want. 12) Start piecing all the bits of wood together in whatever design you want to make, cut the wood to size. Remember when using the glue gun it can be very HOT! There is that bunny again! Now you have created both a bed and a chair...What else can you make?
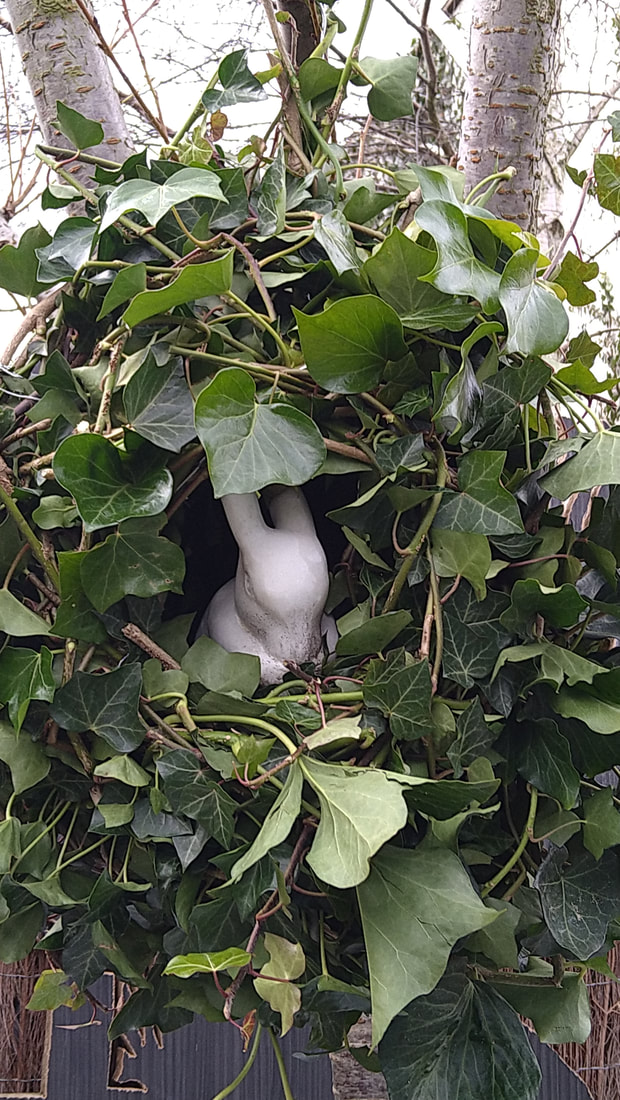
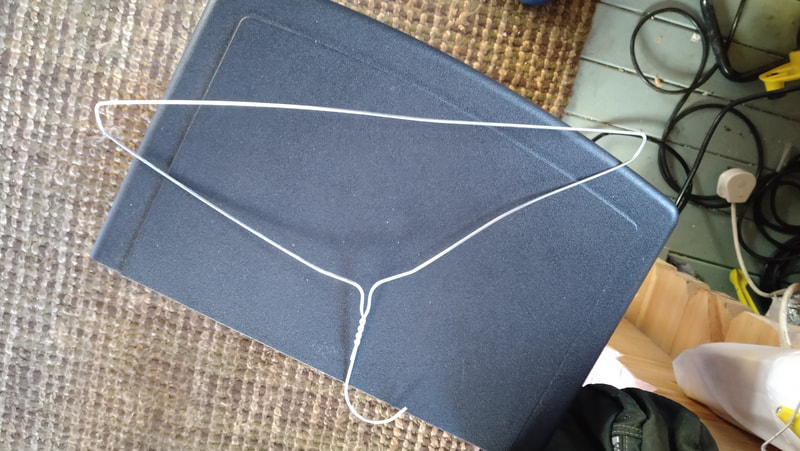
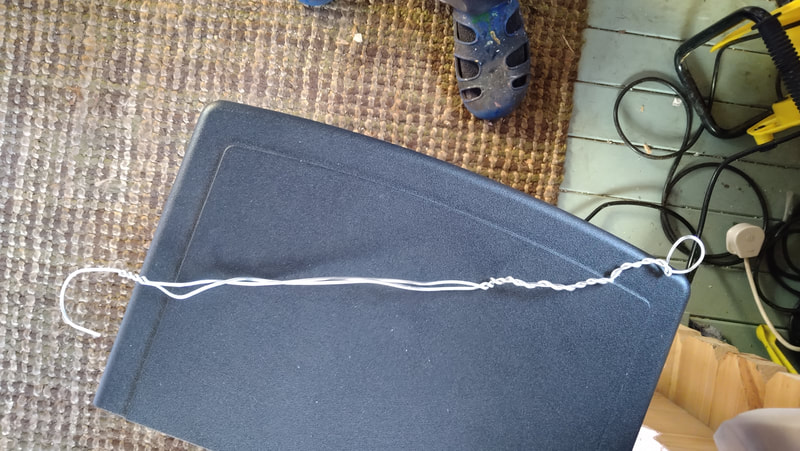
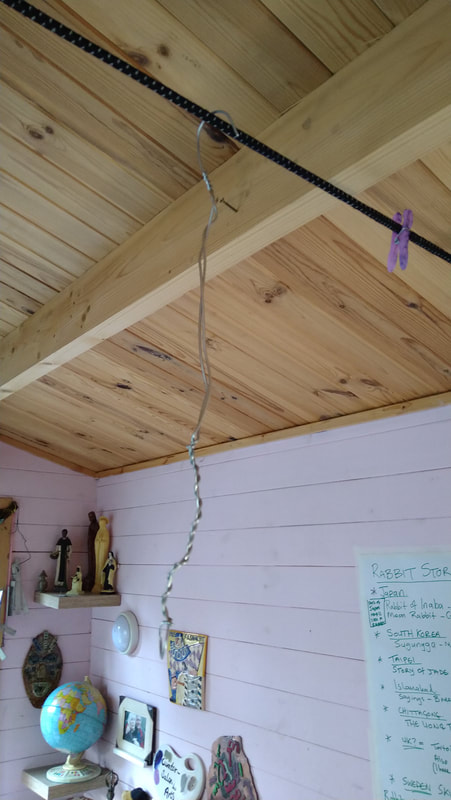
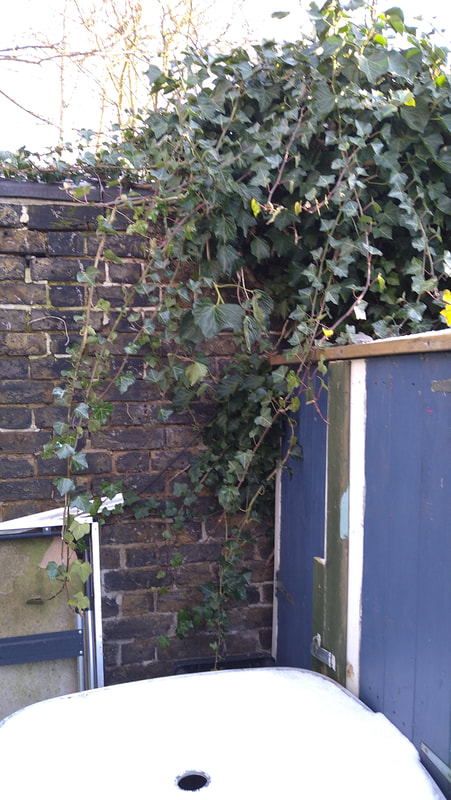
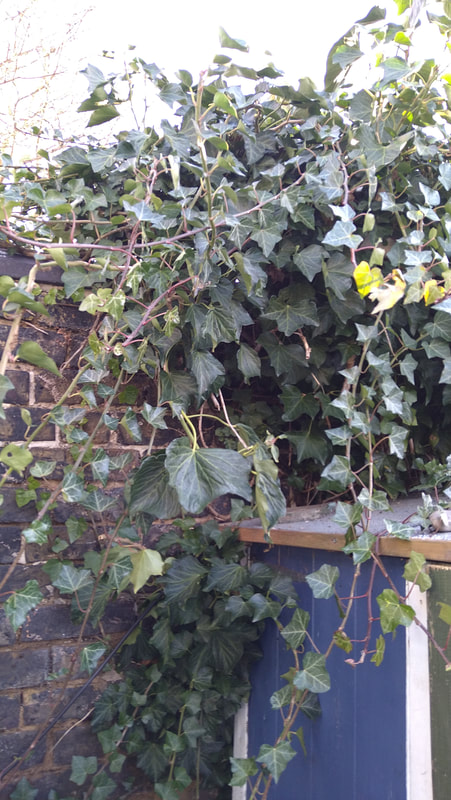
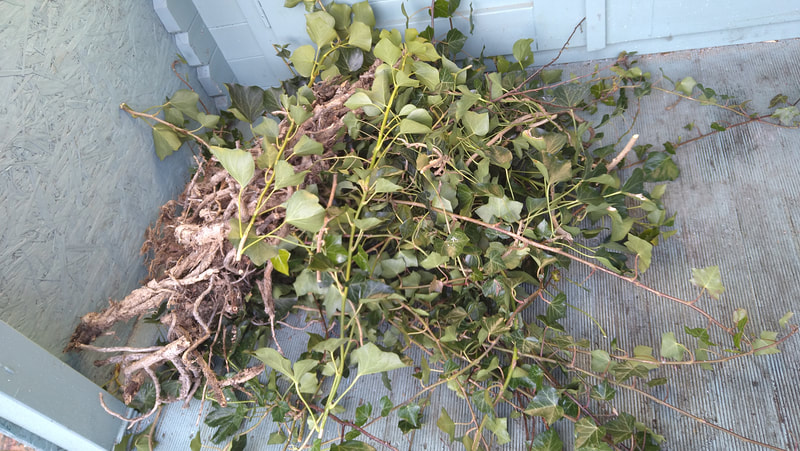
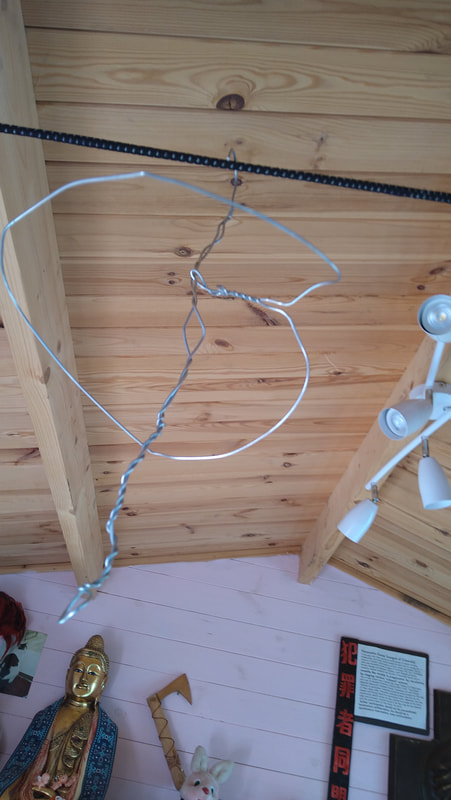
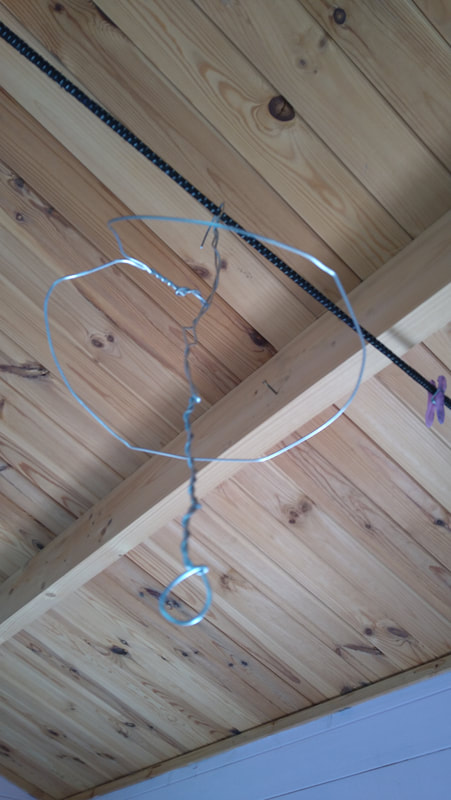
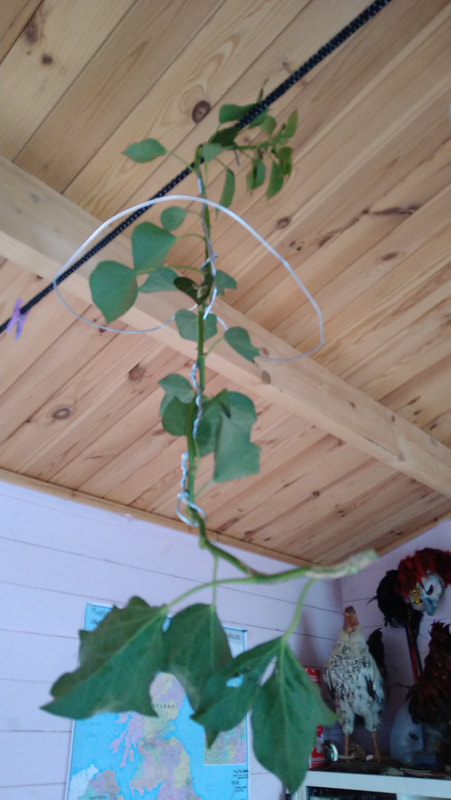
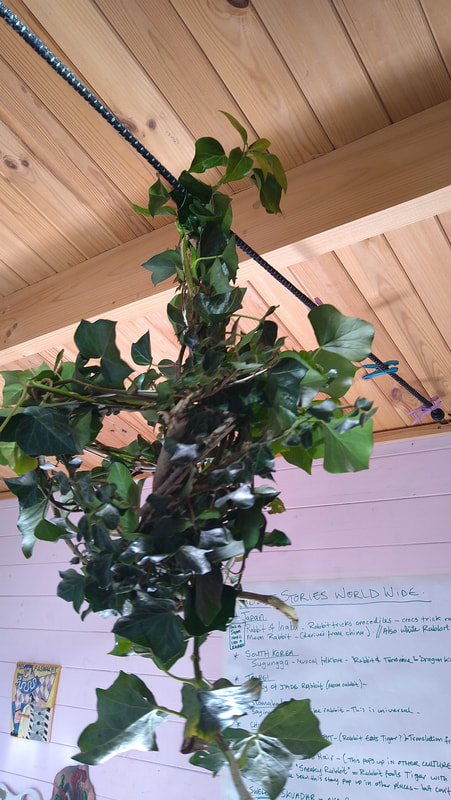
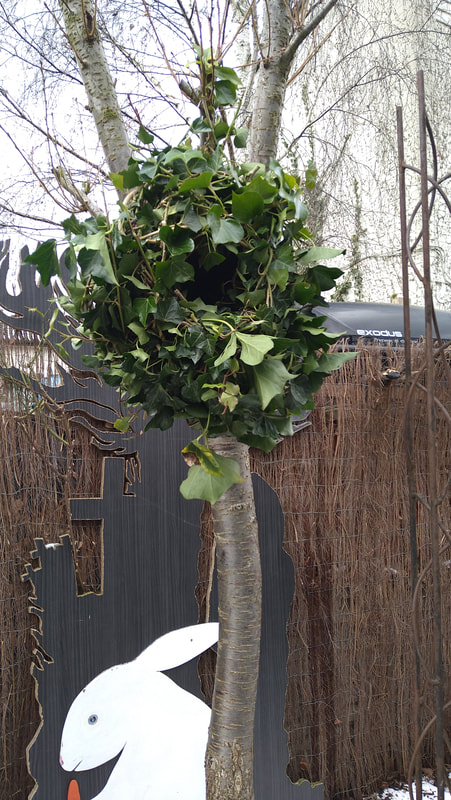
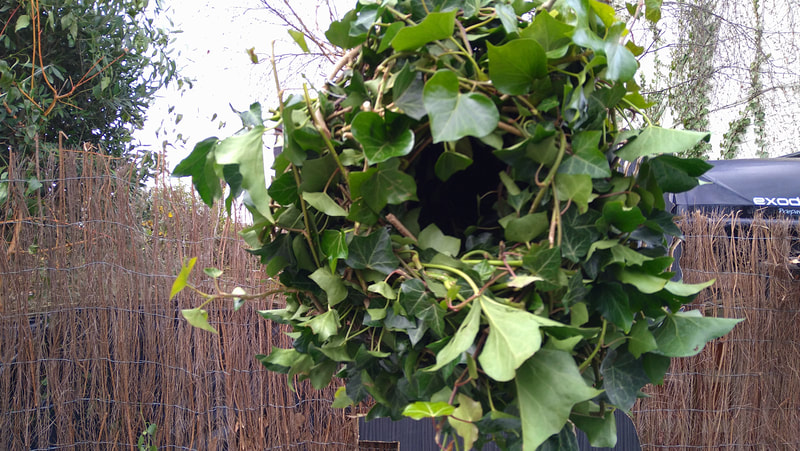
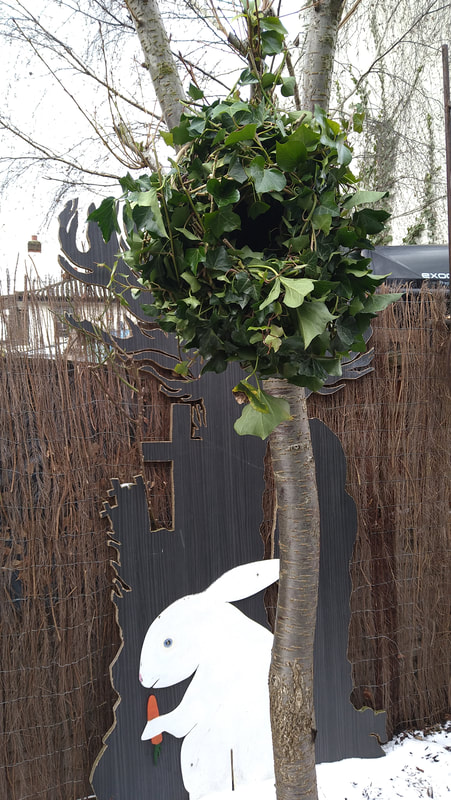
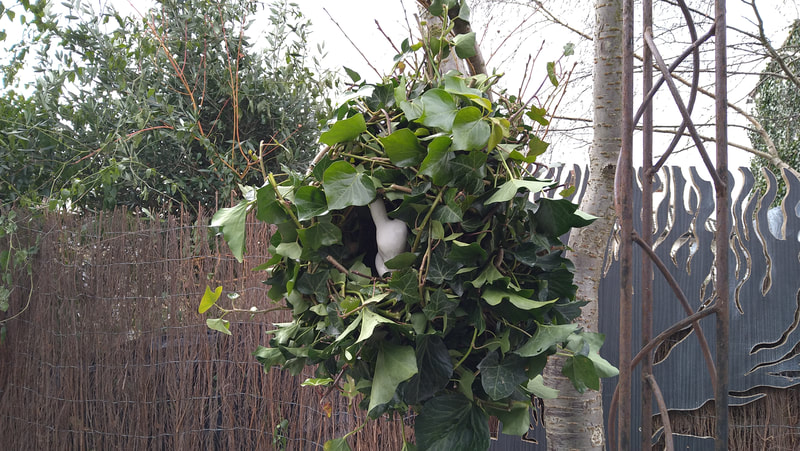
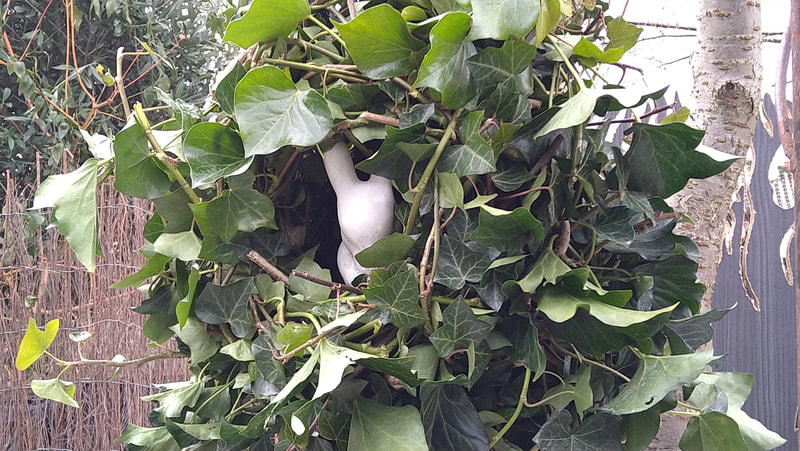
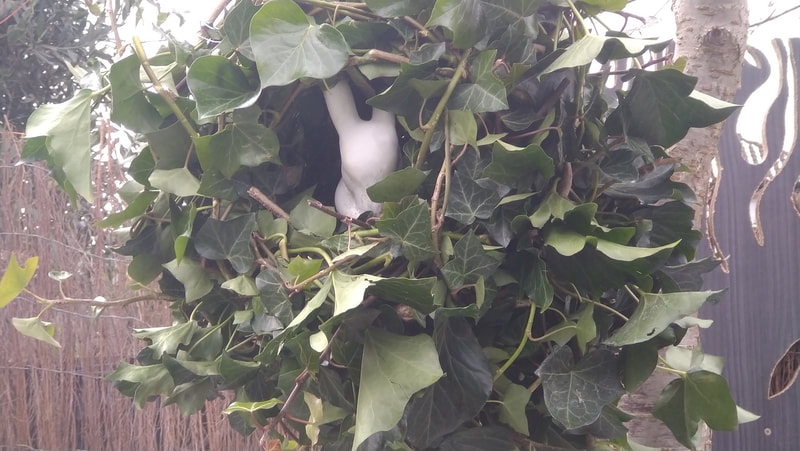
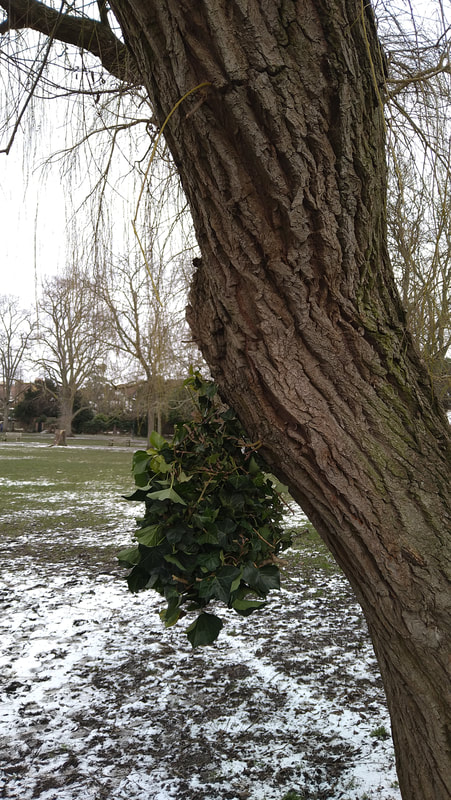
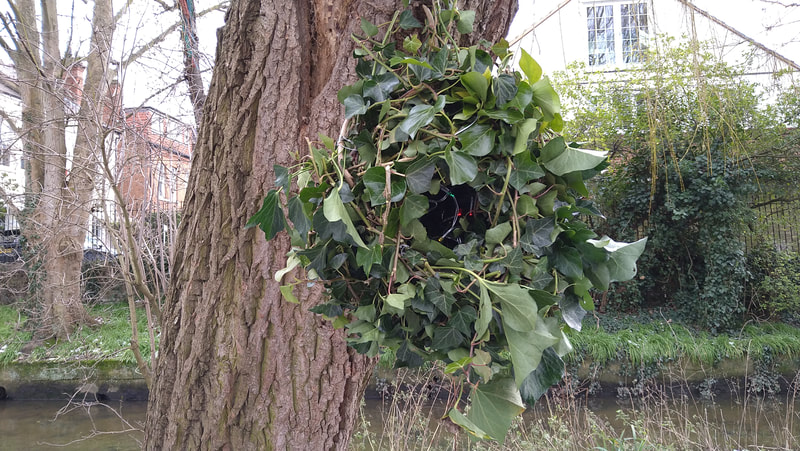
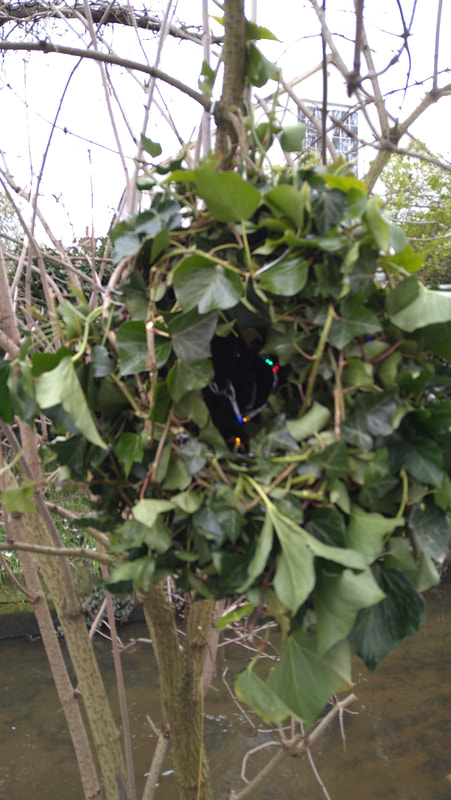
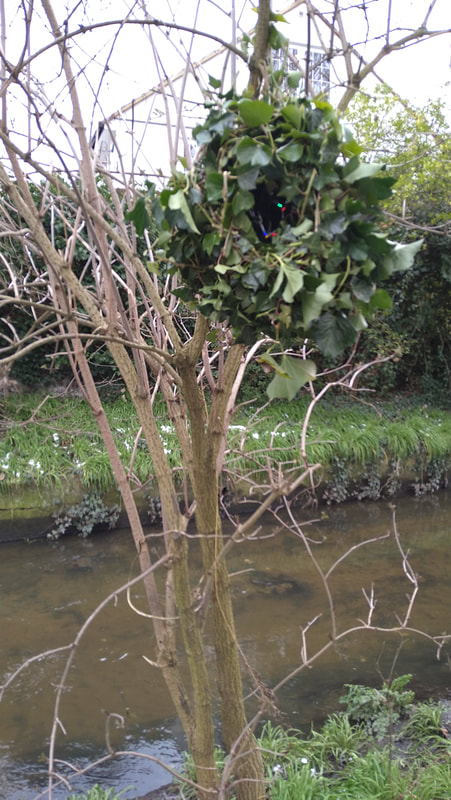
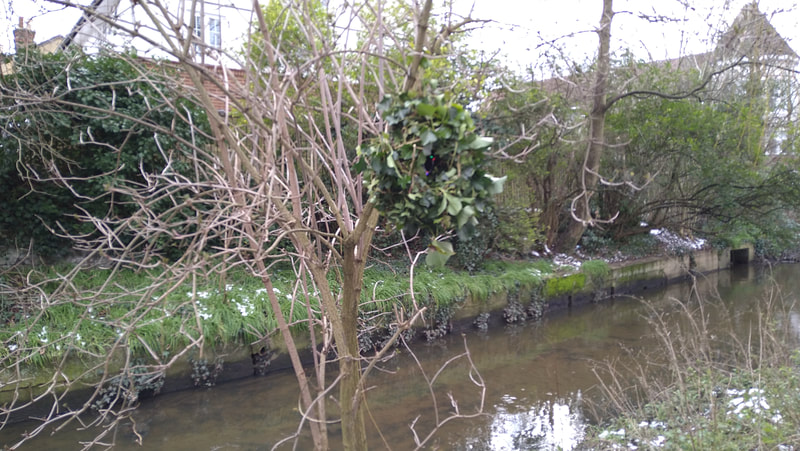
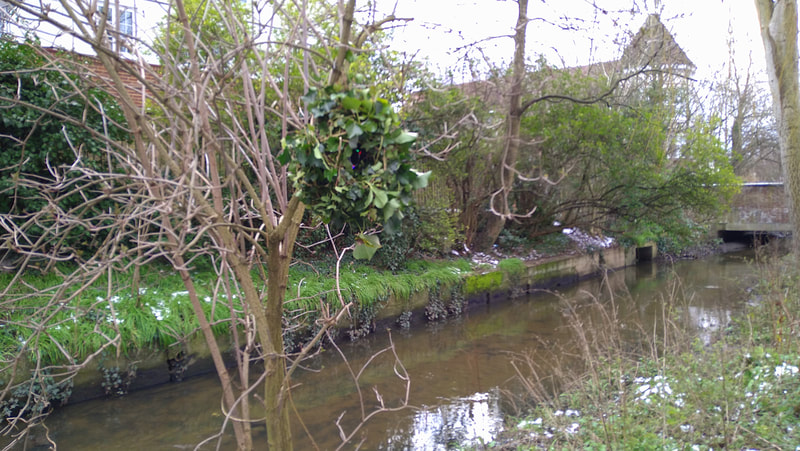
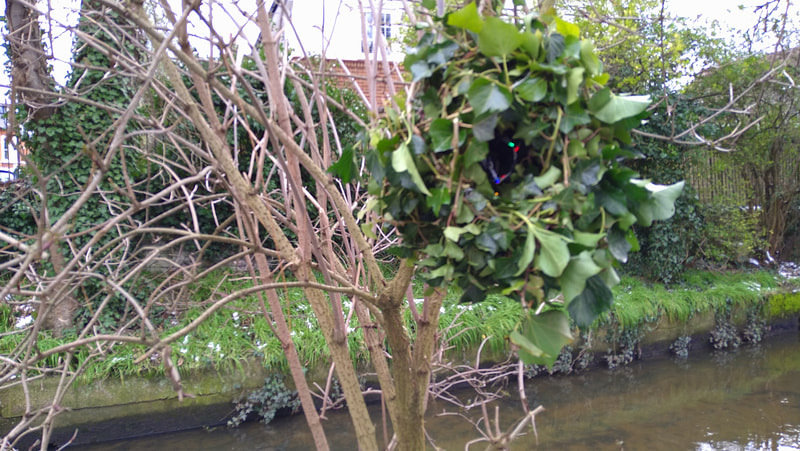
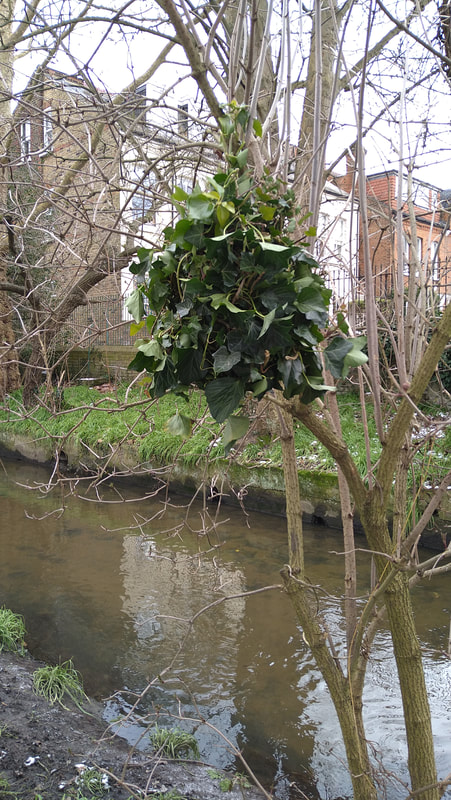
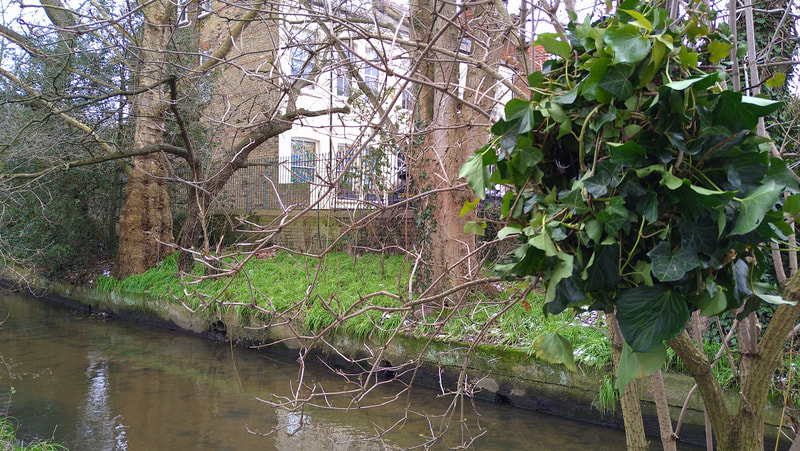
Rita Robins holiday nest2/10/2021 No Its not Rita Robin but hoppy the bunny, checking out Rita's new holiday home. During the pandemic I have managed to somehow keep active one way or the other, and every so often I get calls from churches, art centres and people who need something made. So I was delighted when I received an email from Jonny at the OSOS art centre. https://www.osoarts.org.uk/ Here is the call out from Jonny: " We've now developed the story and route for our treasure hunt, so are in a good position to start chatting about how the artworks (and your garden installation) can integrate. The overarching narrative is that the fairy queen has just moved into the OSO, and leads the children on a tour around Barnes Common to meet some of her magical friends, learning about nature on the way. The treasure hunt passes through various checkpoints, each with their own associated character, and ends up back at the OSO, where we will be setting up a 'fairy village' in our outdoor gazebo. The children can make their own furniture for the village at home, and then hang it in the gazebo to contribute to the fairies' home. The idea with the artwork is that each checkpoint has a piece by a local artist that enhances the imaginative world of the story and strengthens the children's connections between the characters and the physical environment that they are exploring. The treasure map is a physical map collected from the OSO, but the checkpoints and clues themselves are managed digitally - sort of like an audio guide controlled by the parents, but with images that can be viewed on their devices as well. The artwork for each checkpoint would be viewed digitally via this online guide system, but then be hung physically in a larger print (or weather-proofed canvas) in the gazebo (the fairies' home), so when the children finish the treasure hunt they can see all the artworks in the flesh. I was wondering if you'd be up for creating one or two of the pieces for the checkpoints? They don't by any means have to be fully fledged works - small sketches are perfect. Though you could take it as far as you wanted to. Since so much of your artwork is textural/sculptural, there is one checkpoint in particular that would be well suited. By the willow tree on Beverley Brook, Rita the Robin makes the nest for her holiday home. It's next to the fallen willow tree (which perhaps they used to use). Could be a good opportunity for some multi-material nest building work." Jonny The original idea I had was to make a large nest from various things, then Jonny reminded me it had to be hung in the cafe Gazebo, so I needed to think how it would hang and also easy to move about. Out comes the old wire coat hangers, that have been hanging around doing nothing. Step one make a frame work to work with, that would be strong enough to be handled. Fortunately my garden has abundance of ivy that I could use. While it had stopped snowing and a little bit of sunshine, it was the right time to get out and get on with it. I managed to shape the coat hangers (I used two, one for the centre, which is also the hanging piece, and one to support the ivy once I began weaving it.) Using the wire structure it helps to hold the ivy, especially at the early stages, then just keep weaving to the shape you want it to become. Since I had a good strong base structure, it made it easy to be quite firm when weaving the ivy, and also to work without any mishaps. Once I had finished with it, though took some photographs of the rabbit inside the nest to see what it would look like. Having used a coat hanger as the centre core, it made it very easy to carry and also to hang on the trees at the Brook before dropping it off at the OSO art centre.
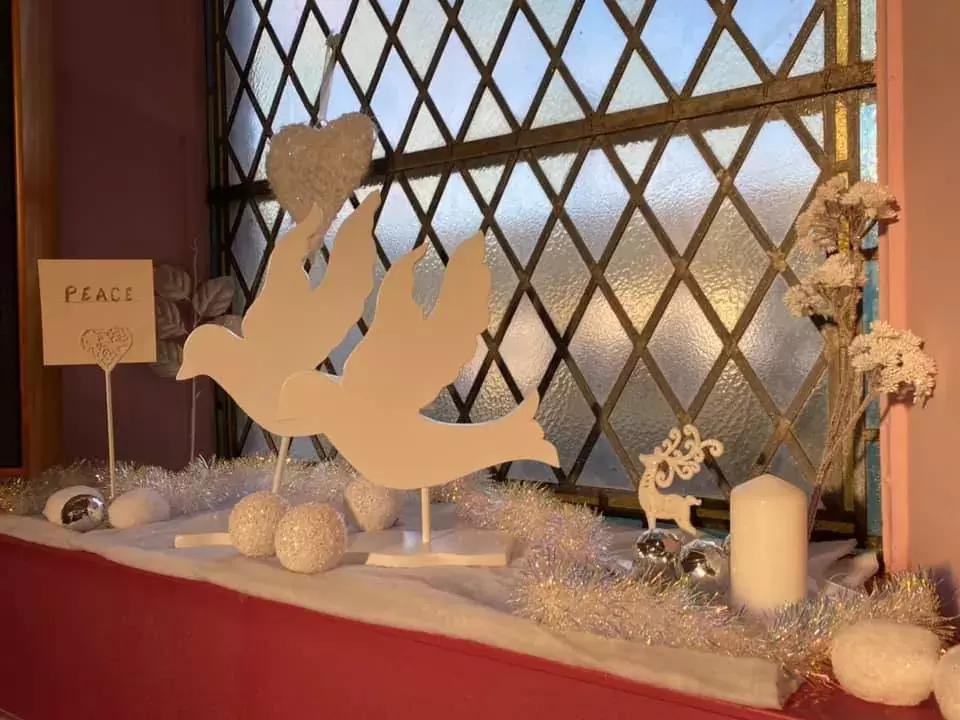
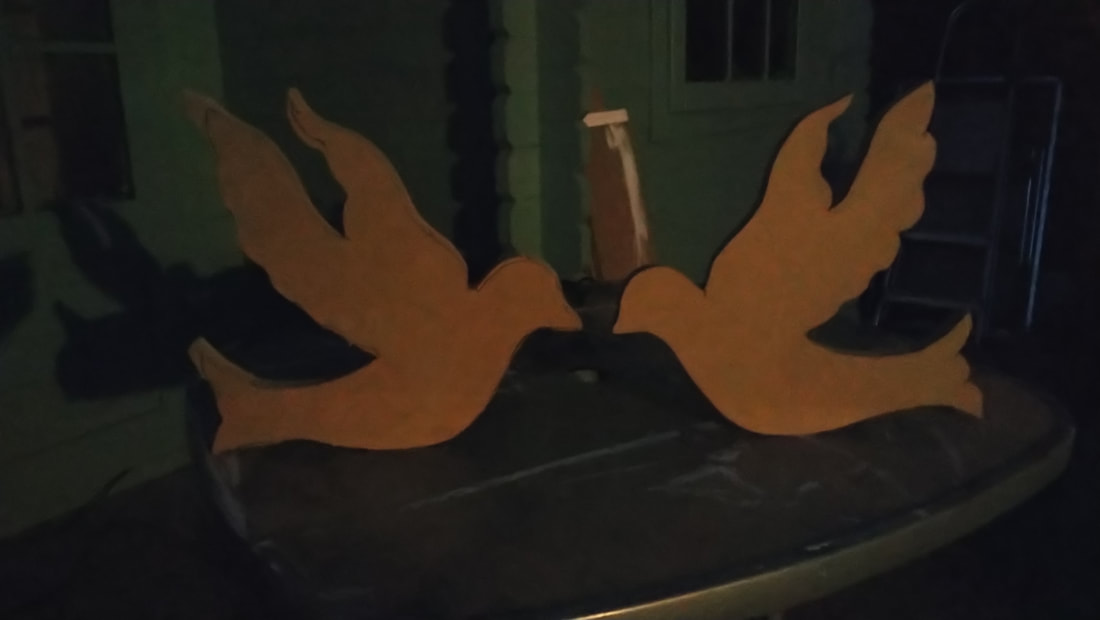
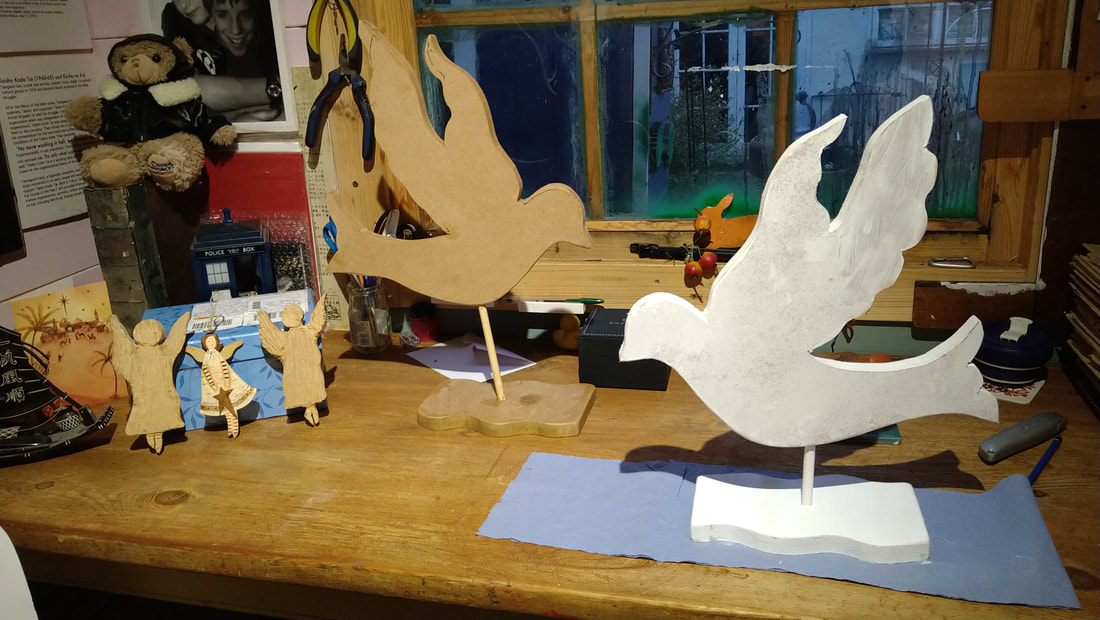
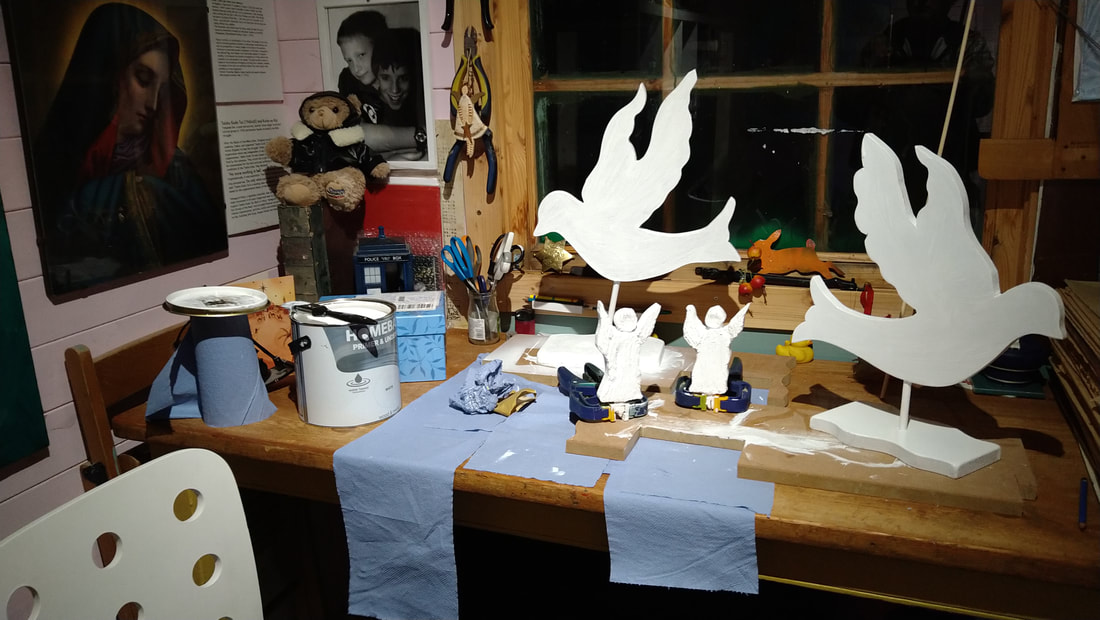
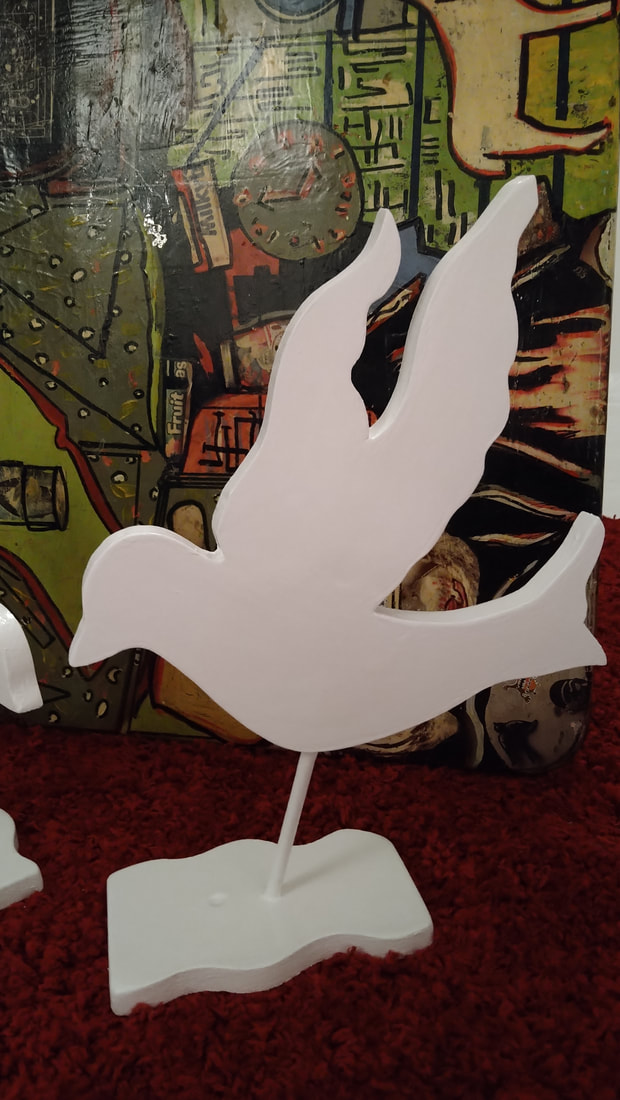
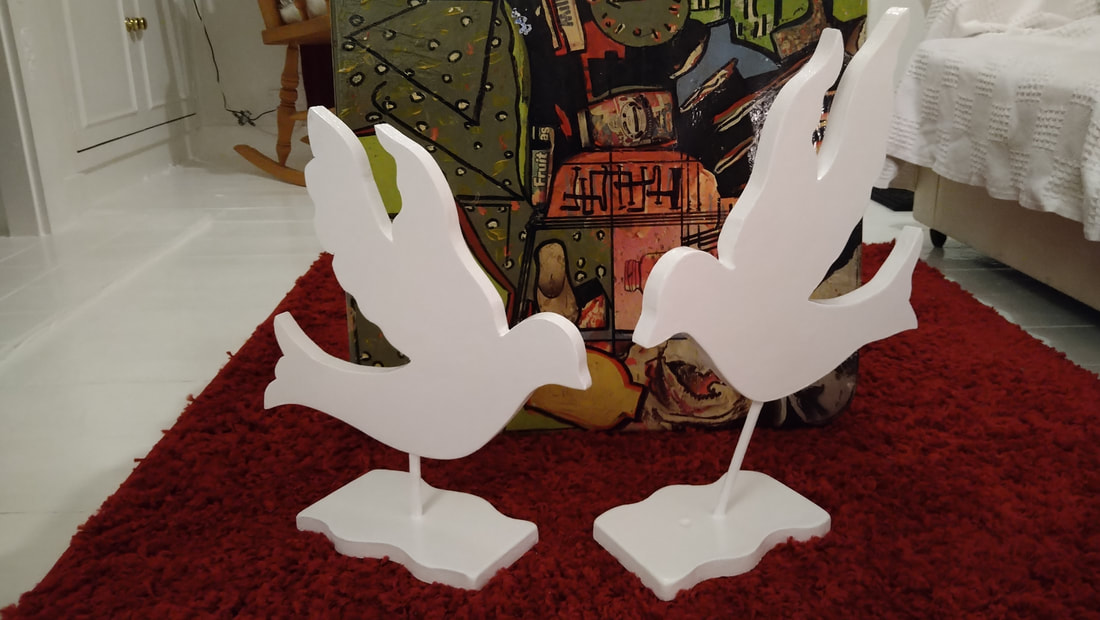
Do check out their site if you are interested in the many activities that the centre puts on, even through the pandemic, they have been amazing, creating online entertainment, as well as brining artists together through other online projects. I have had so much fun making Rita Robins holiday nest. You can have a go yourself, its a great winter decoration or a garden installation, I did put some coloured lights inside, just to add that magical quality. Making of the Doves2/7/2021 Doves sitting on the white window at Bonnyrigg parish Church Scotland Over the years I have been making art out of mdf, so had worked out how to cut, carve, shape, piece together the mdf, transforming it into various pieces. I have also often made things from my local church in London, like camels, St Michael with his sword and not forgetting the dragon. I have been able to make things for the local shelter window, creating various displays. One Friday evening I had a call from my sister who asked if I would be able to make a Dove for a friend who was part of a team at Bonnyrigg Parish Church, as it was difficult to find a winged Dove. Fortunately earlier in the day I noticed a neighbour was throwing out some mdf, so I knocked on the door and asked if I can have it, which he said yes. I have always found this is how it works, when I need something to make something it normally comes my way, I have been so fortunate, in this instance it meant I was able to cut a shape of the dove and send a photo that evening, which I got a thumbs up. Once I worked out the initial shape I decided to make two as doves always comes in pairs. My next step was to then make them stand freely, which was fairly straight forward. I cut a base, then cut a small piece of doweling rod, and drilled a hole at the bottom of the dove and also the based, where I used some wood glue and joined them together. It was a frantic two days in the studio as I was aware they needed them asap. It was a lot of fun making things again, as I had put making objects on hold during lockdown, as I can be a bit noisy with the drills/jigsaw and hammer, my studio is in the back garden. I am aware that most people are now at home and some neighbours are using their sheds for conference calls. But on this evening, it was fine so I was able to get all the noise out of the way and then spend time working out the size and also how to present them. The problem came when I thought I could spray them, but that never worked, so had to sand them down and start again, but this time using quick drying gloss, being cold it wasn't drying as quick as it would normally. My aim was to get them in the post by Monday. It seemed I was on track with the doves. The last time I created a dove it was years ago, though I made it as a tapestry for a friend who was a retired nun. There is something beautiful about the dove, it has a spirit, and a magical quality about it no matter what medium you use as an artist to create an image of a dove, it always seem to look like a dove, even if it is just a simple line drawn. I was obviously enjoying not just the making but also the challenge, as I was aware of a team of ladies in Scotland who have been creating different themed windows at their local church, unaware of the gift that was going to arrive within days of asking for help. That is the power of asking, we sometimes just need to say "I need help". This was an everyday event for me, but for the ladies at Bonnyrigg Parish Church, this would inspire them to continue with their plan for the white window. It becomes a team effort, I was part of the team, even if they didn't know me, this was my contribution to helping the window to become reality. I was really pleased with the outcome and I know they would be too. This was such a wonderful effortless project to take on, because I was really enjoying the whole process and knowing the happiness that the doves were going to bring. Now they were ready to fly their way to Scotland from London. I wasted no time so sent them straight off and they arrived the next day. One of the ladies arranged to pick the parcel up over flowing with excitement. During the pandemic it really has limited our freedom what we can and cannot do, things have changed, so to be able do something different really helps not only just doing something, contributing to an important project. I can imagine it would have made everyone's day when they received the doves, when just days previous they had lost hope on where to find winged flying doves. The Minister Rev Louise Purden was delighted to see the creation of the window, not only that; I think the story behind it became part of the experience of the window. You can hear her sermon via this link, go to 21 minutes in where Louise talks about how it happened, and you really feel the joy that comes from her heart. AuthorSpike Mclarrity is a duration based conceptual performance artist. CategoriesArchives
May 2023
|
Proudly powered by Weebly



 RSS Feed